Thermal Curtains to Isolate Cab
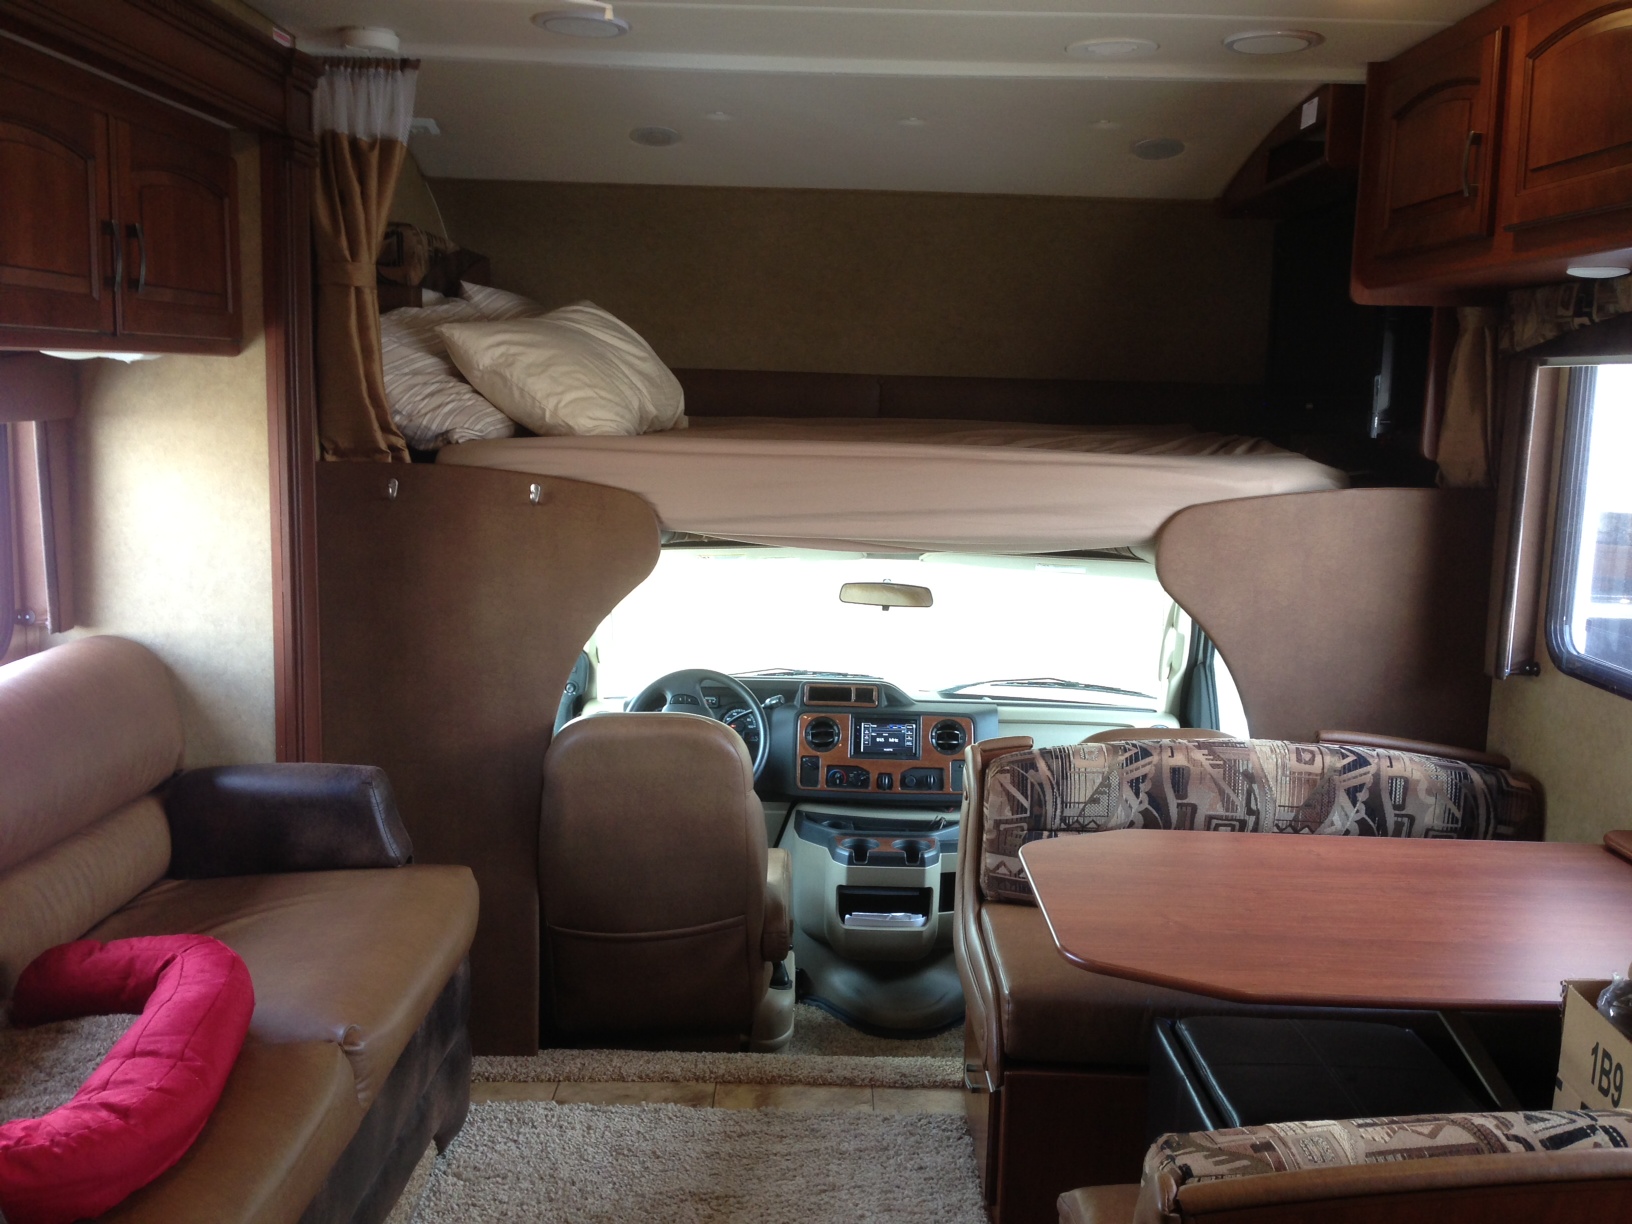
In the winter, Class C RVs lose a lot of heat from the cab. In the summer, a lot of heat comes in through the windshield. Not good, so we looked for ways to fix it. There are a few ways:
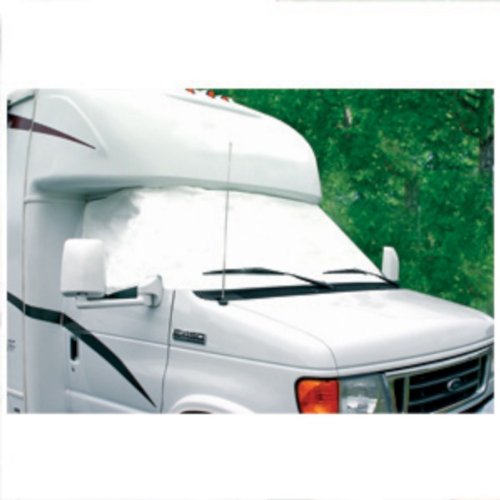
- Add an insulated windshield cover on the outside (and/or a Reflectix cover on the inside). If you use an outside one, get one with anti-theft tabs that lock inside the doors.
- Close the cab's vents...on some models, it's important to close the vents BEFORE you turn off the engine and give the vent time to close. Closing it after the engine is off won't actually cause the vent to close on my Ford E450, for example.
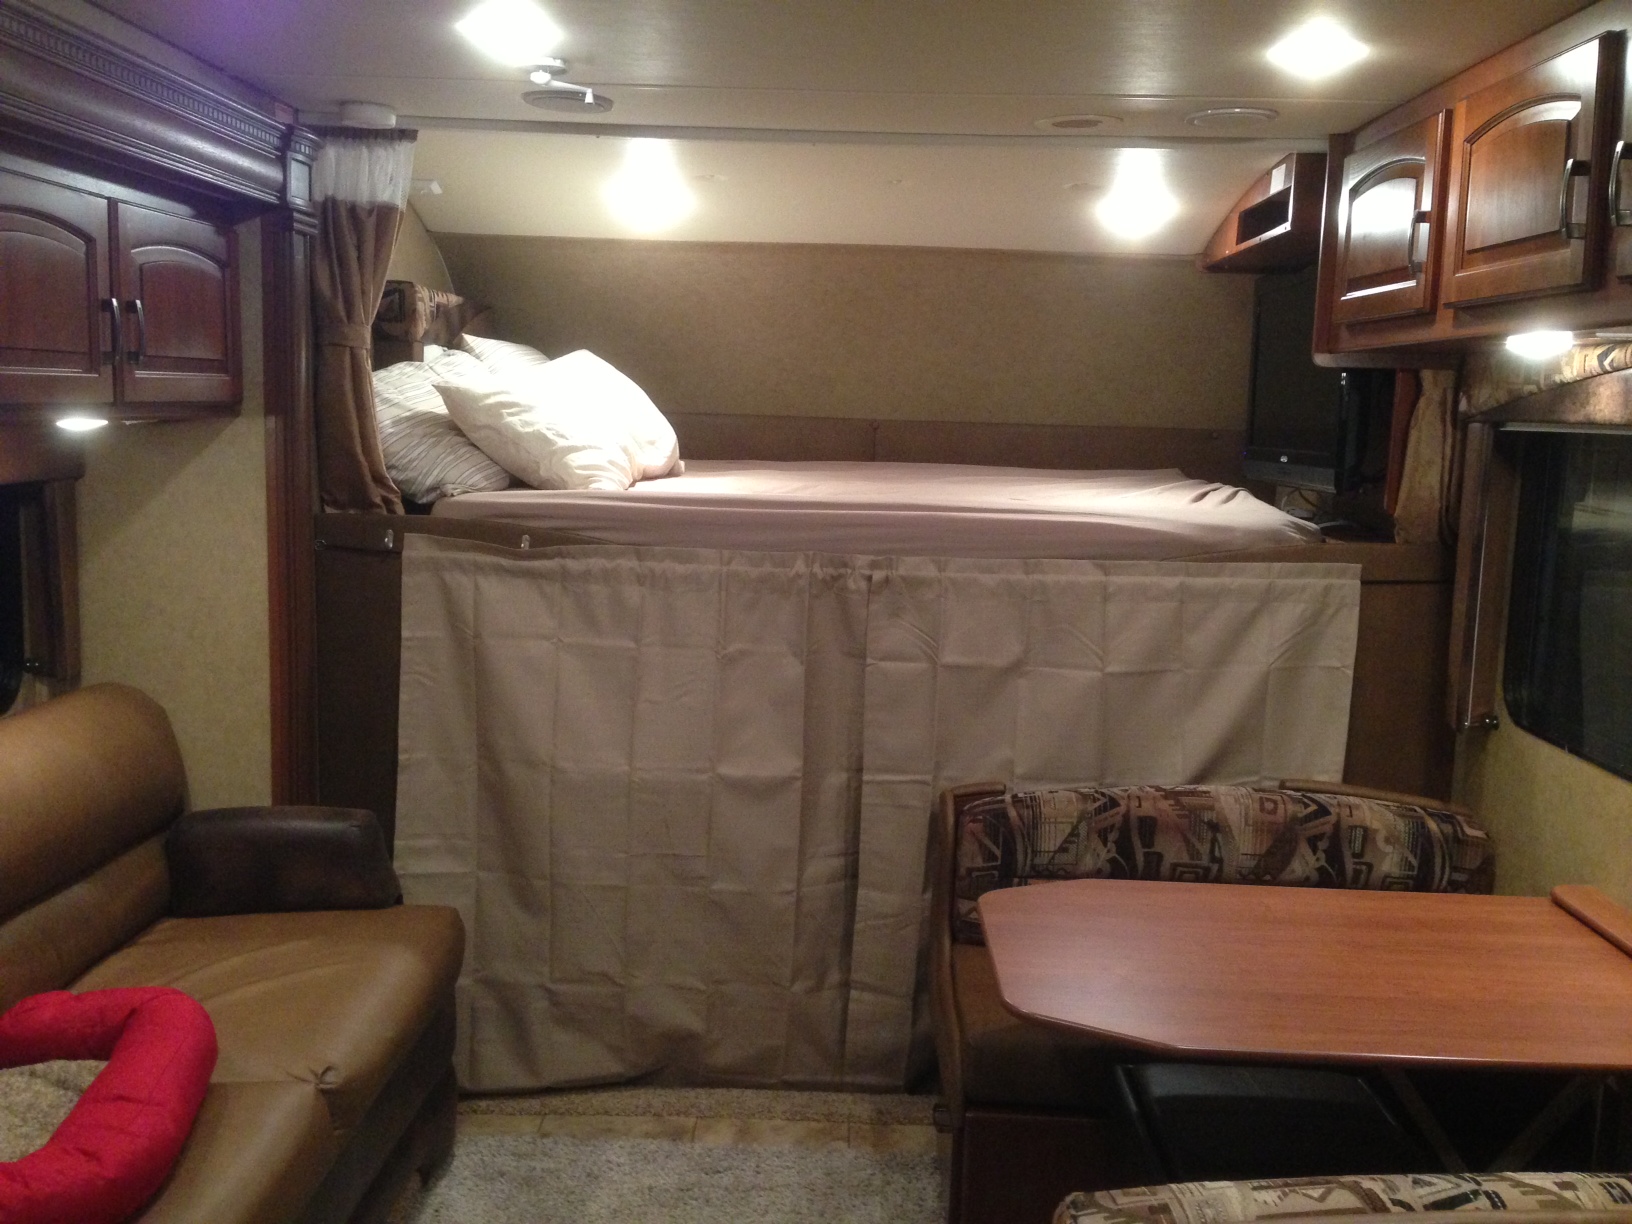
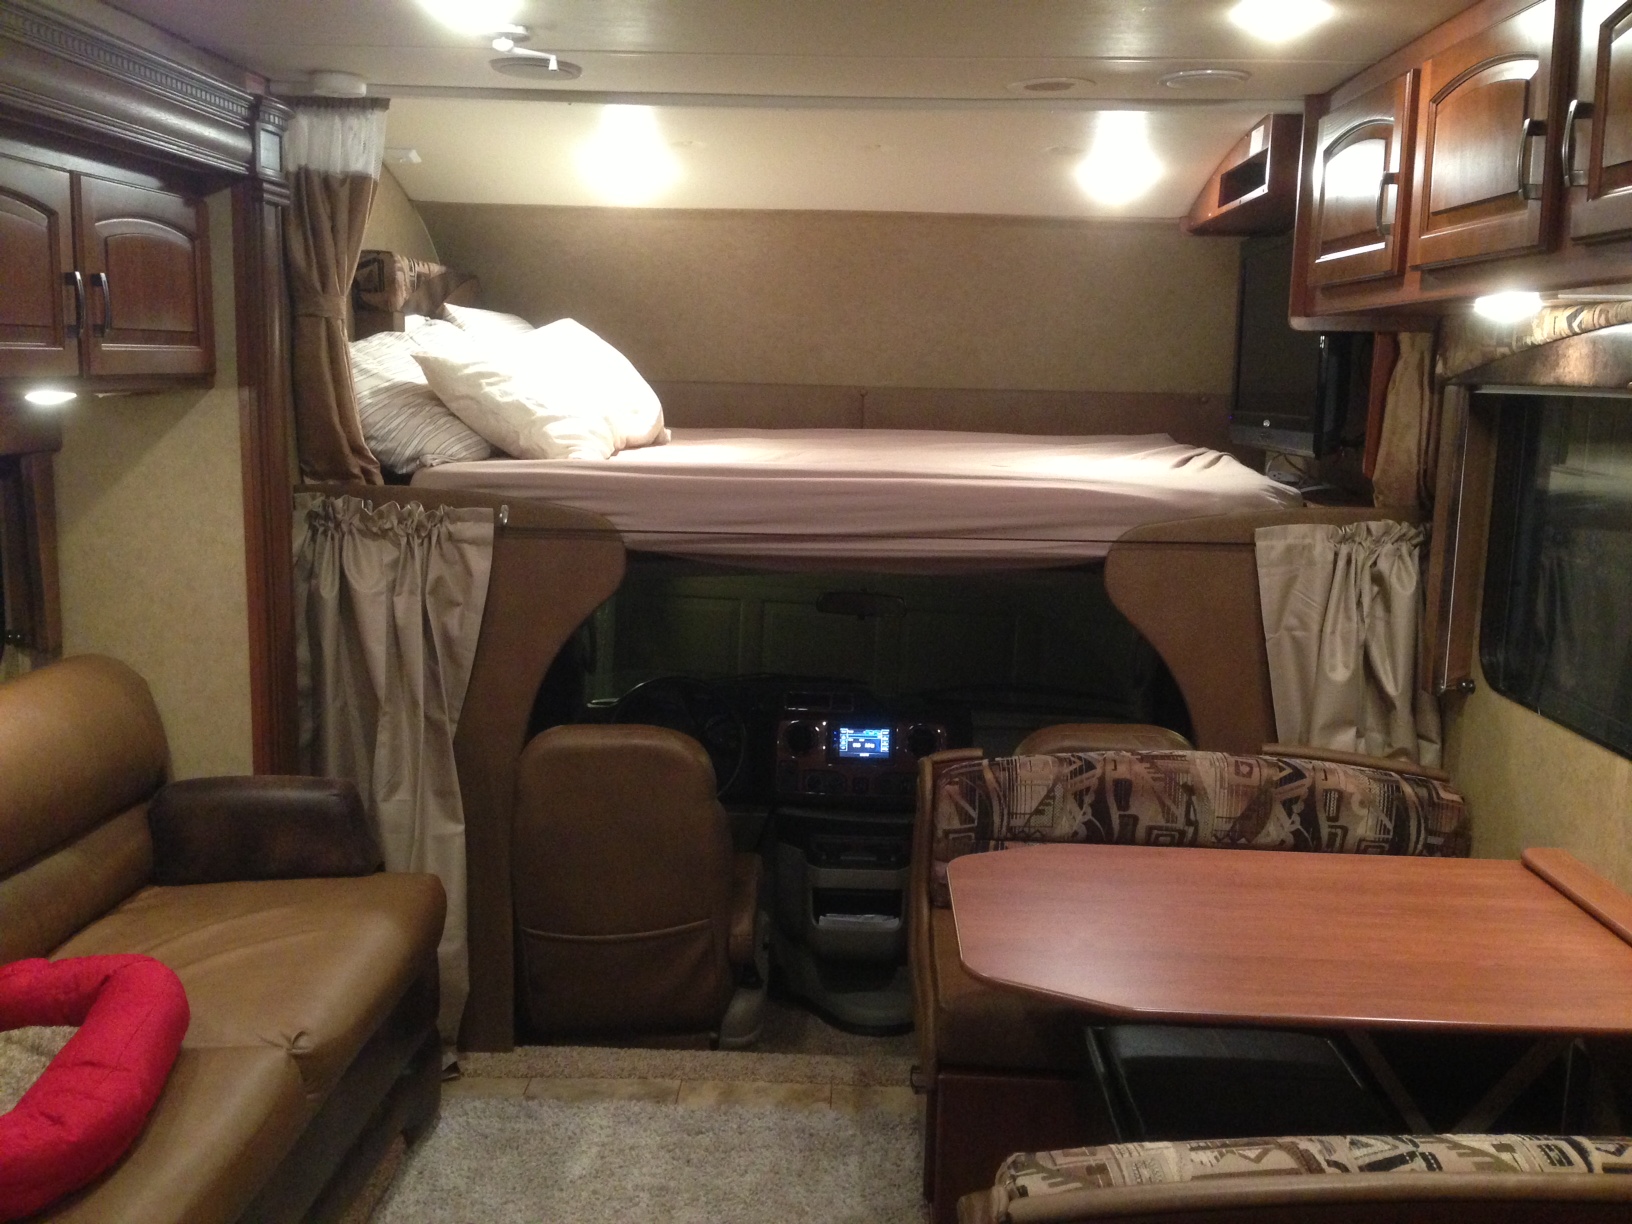
- Hang a blanket from the cabover to stop heat transfer into the cabin. We used a fleece blanket and noticed several degrees of temperature difference between the cab and the cabin.
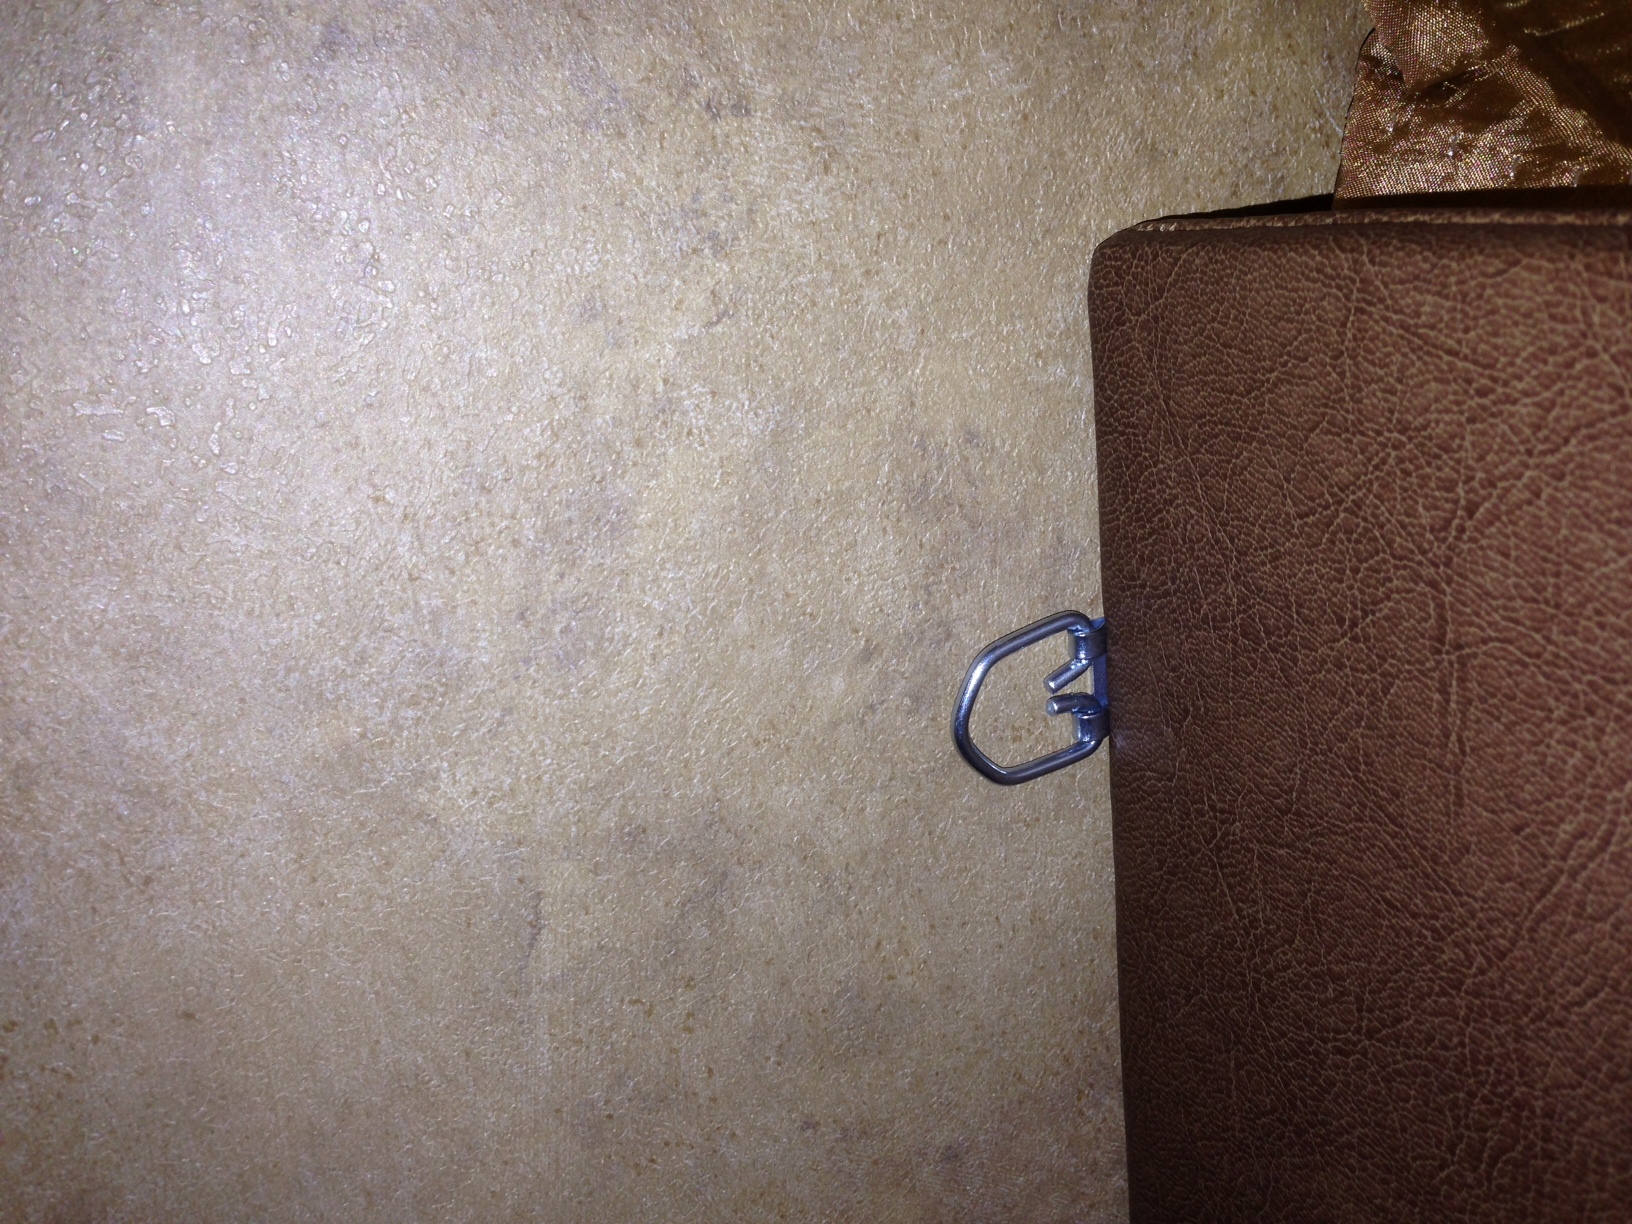
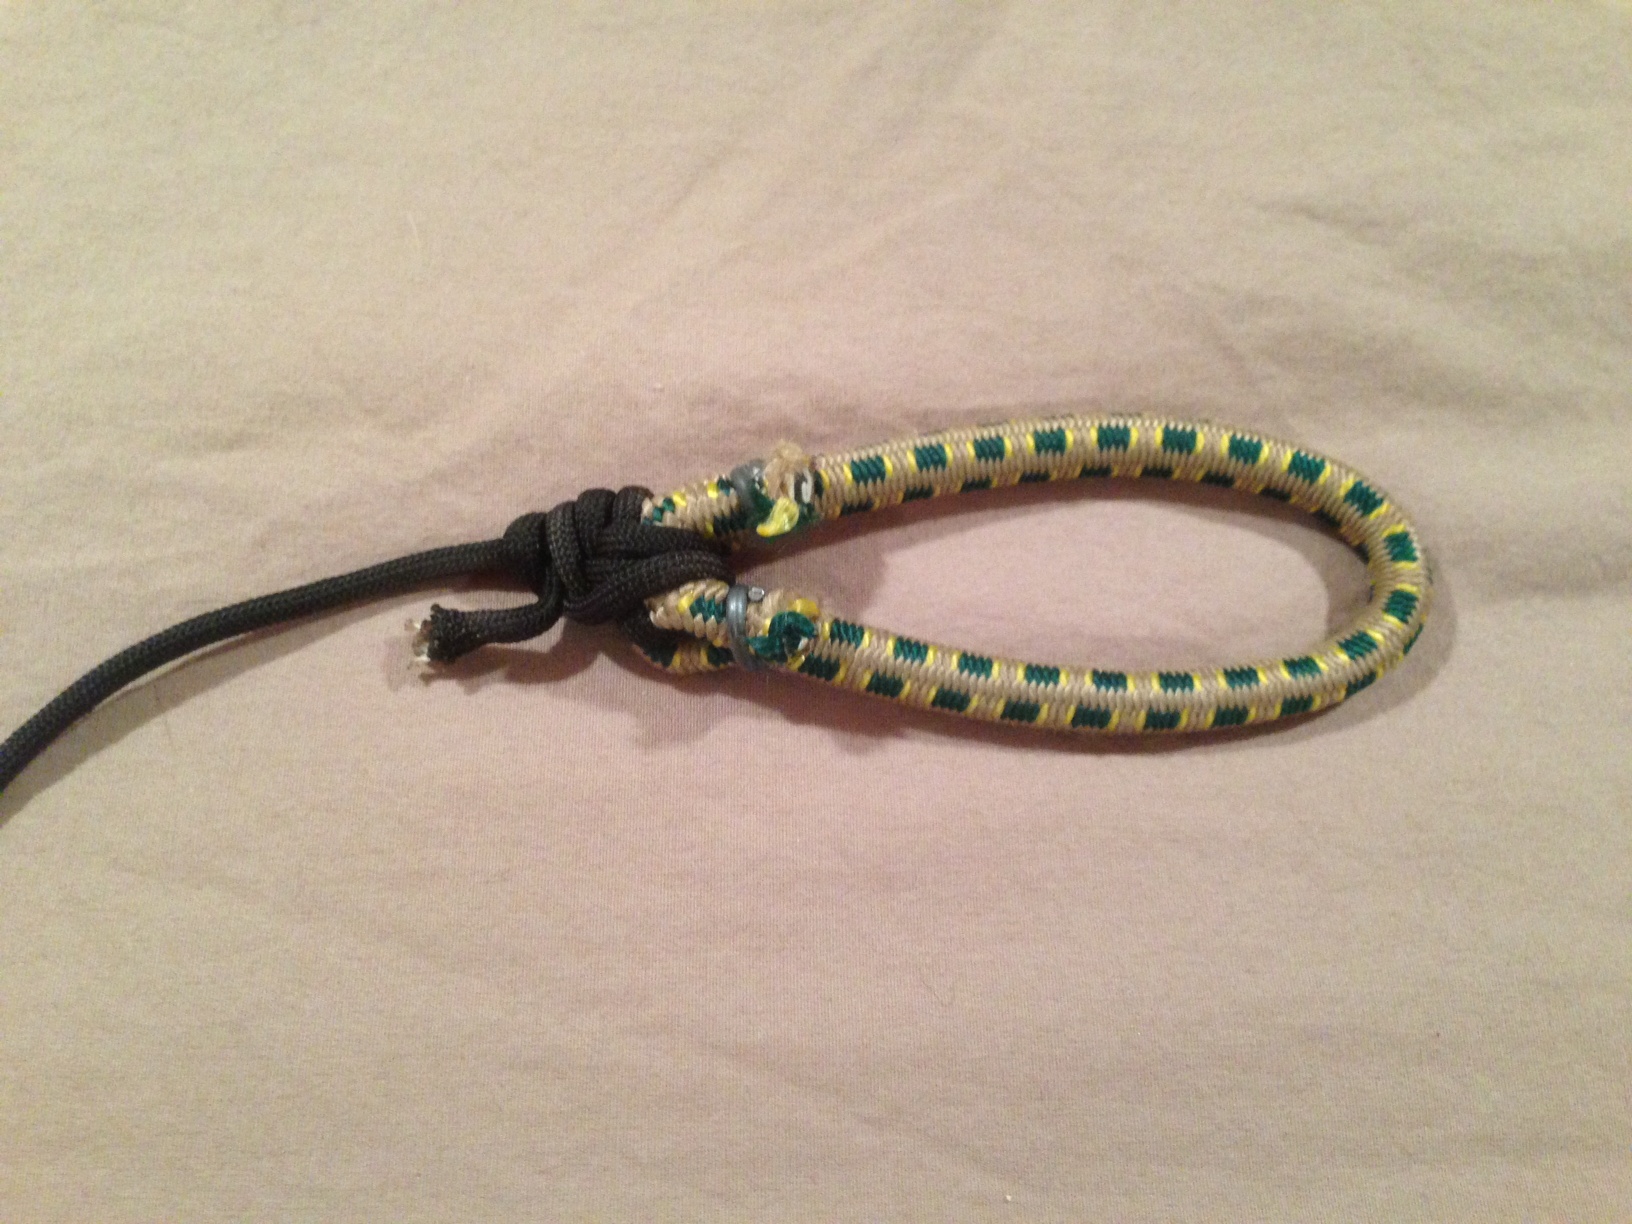
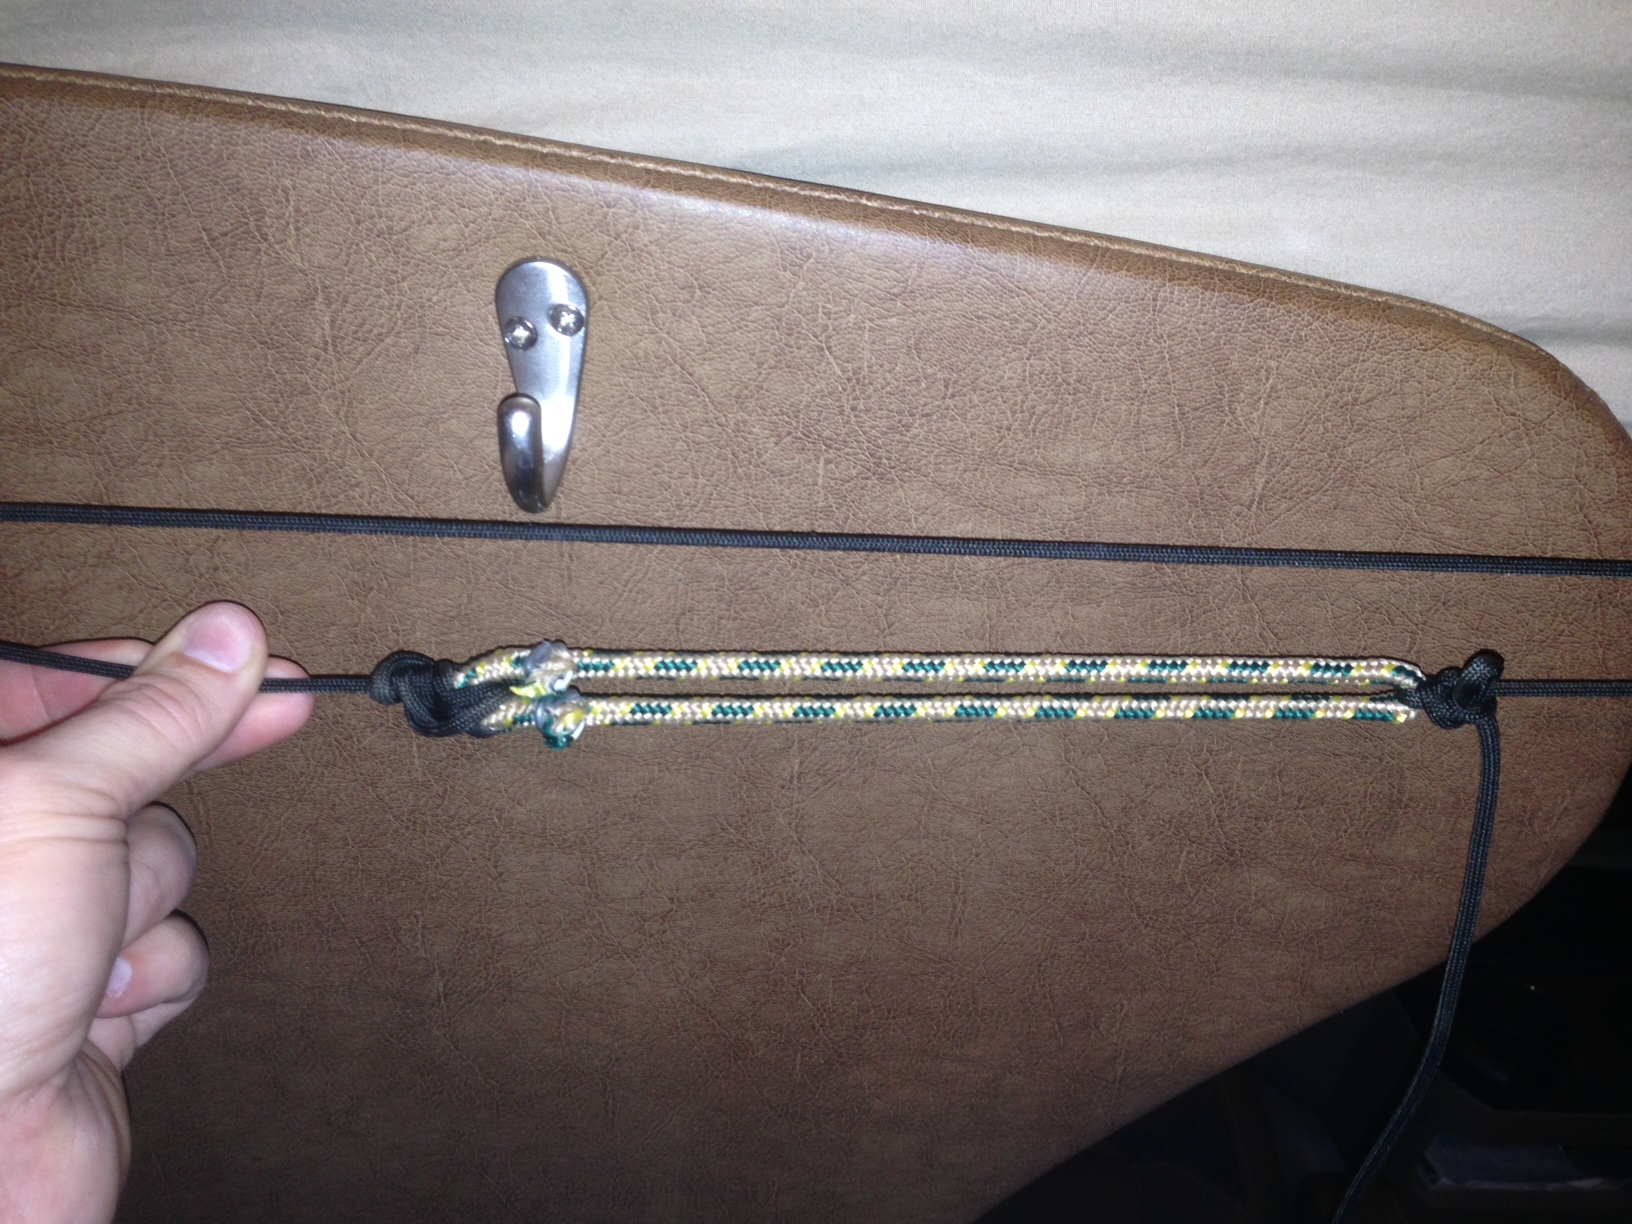
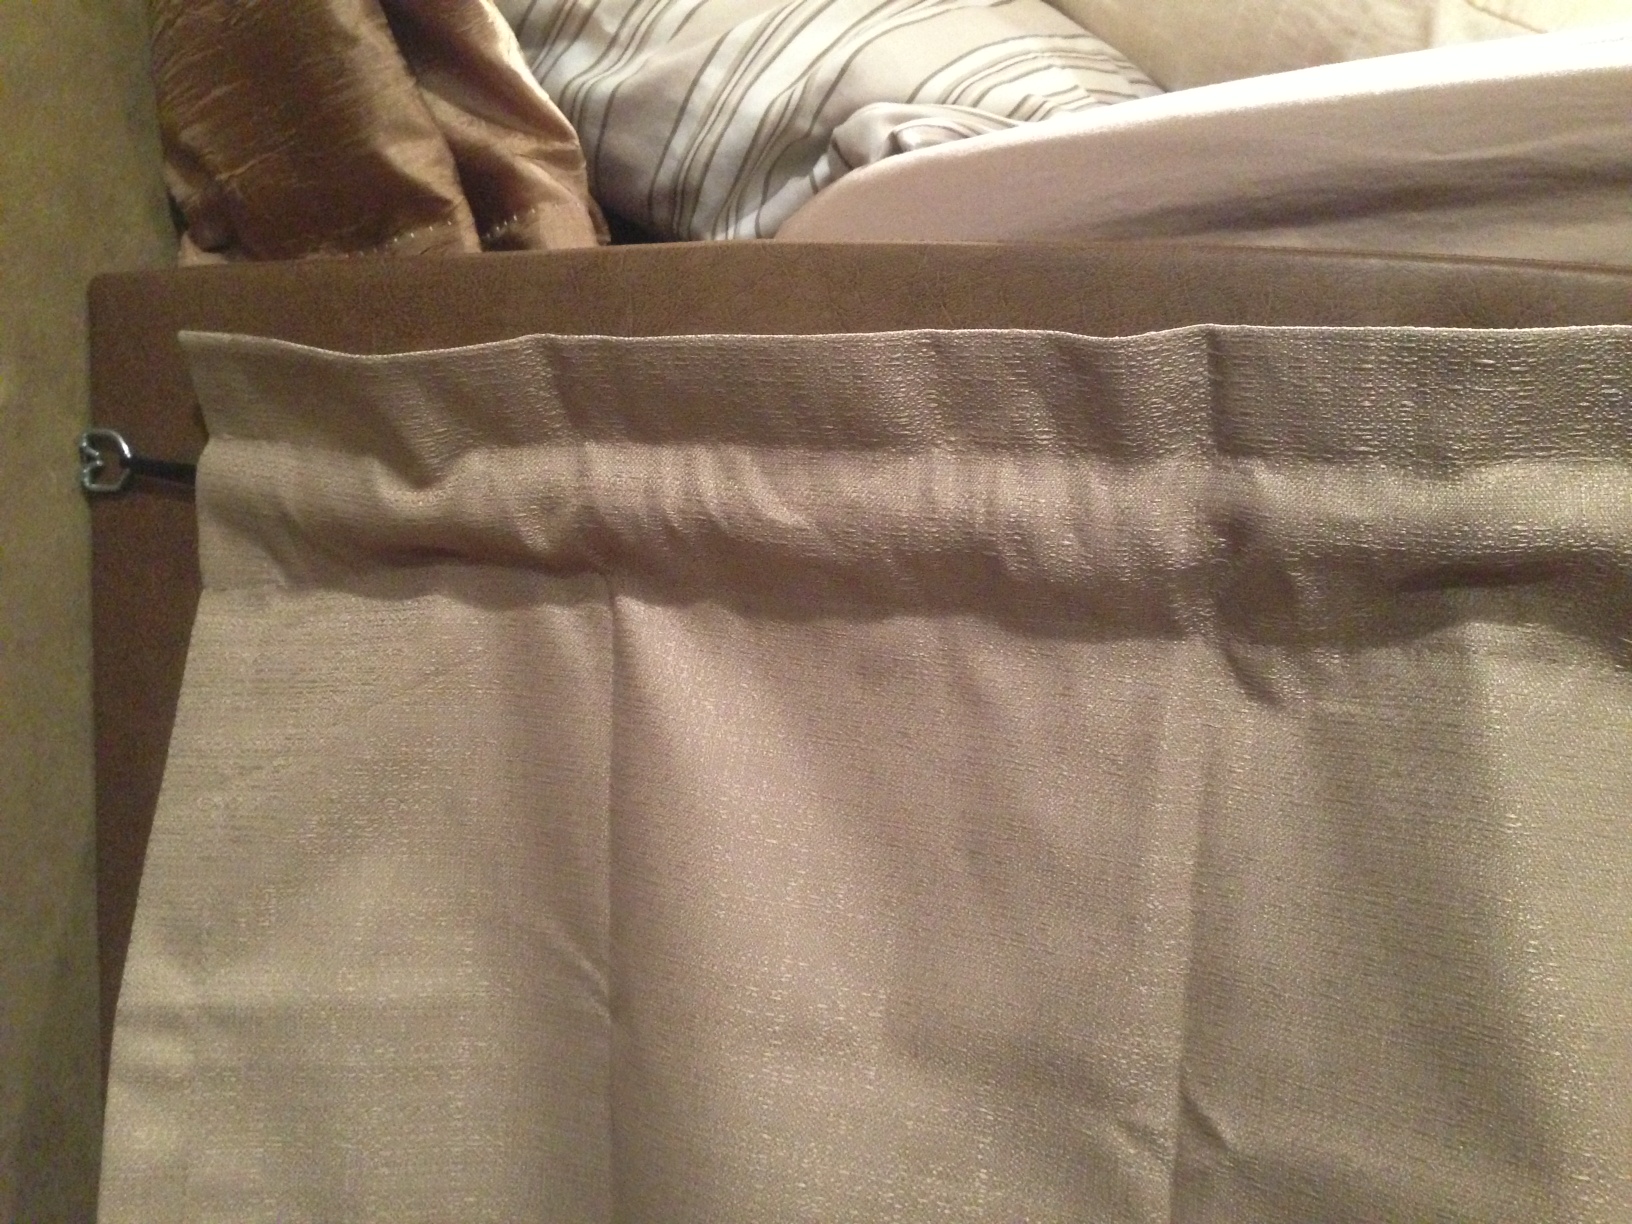
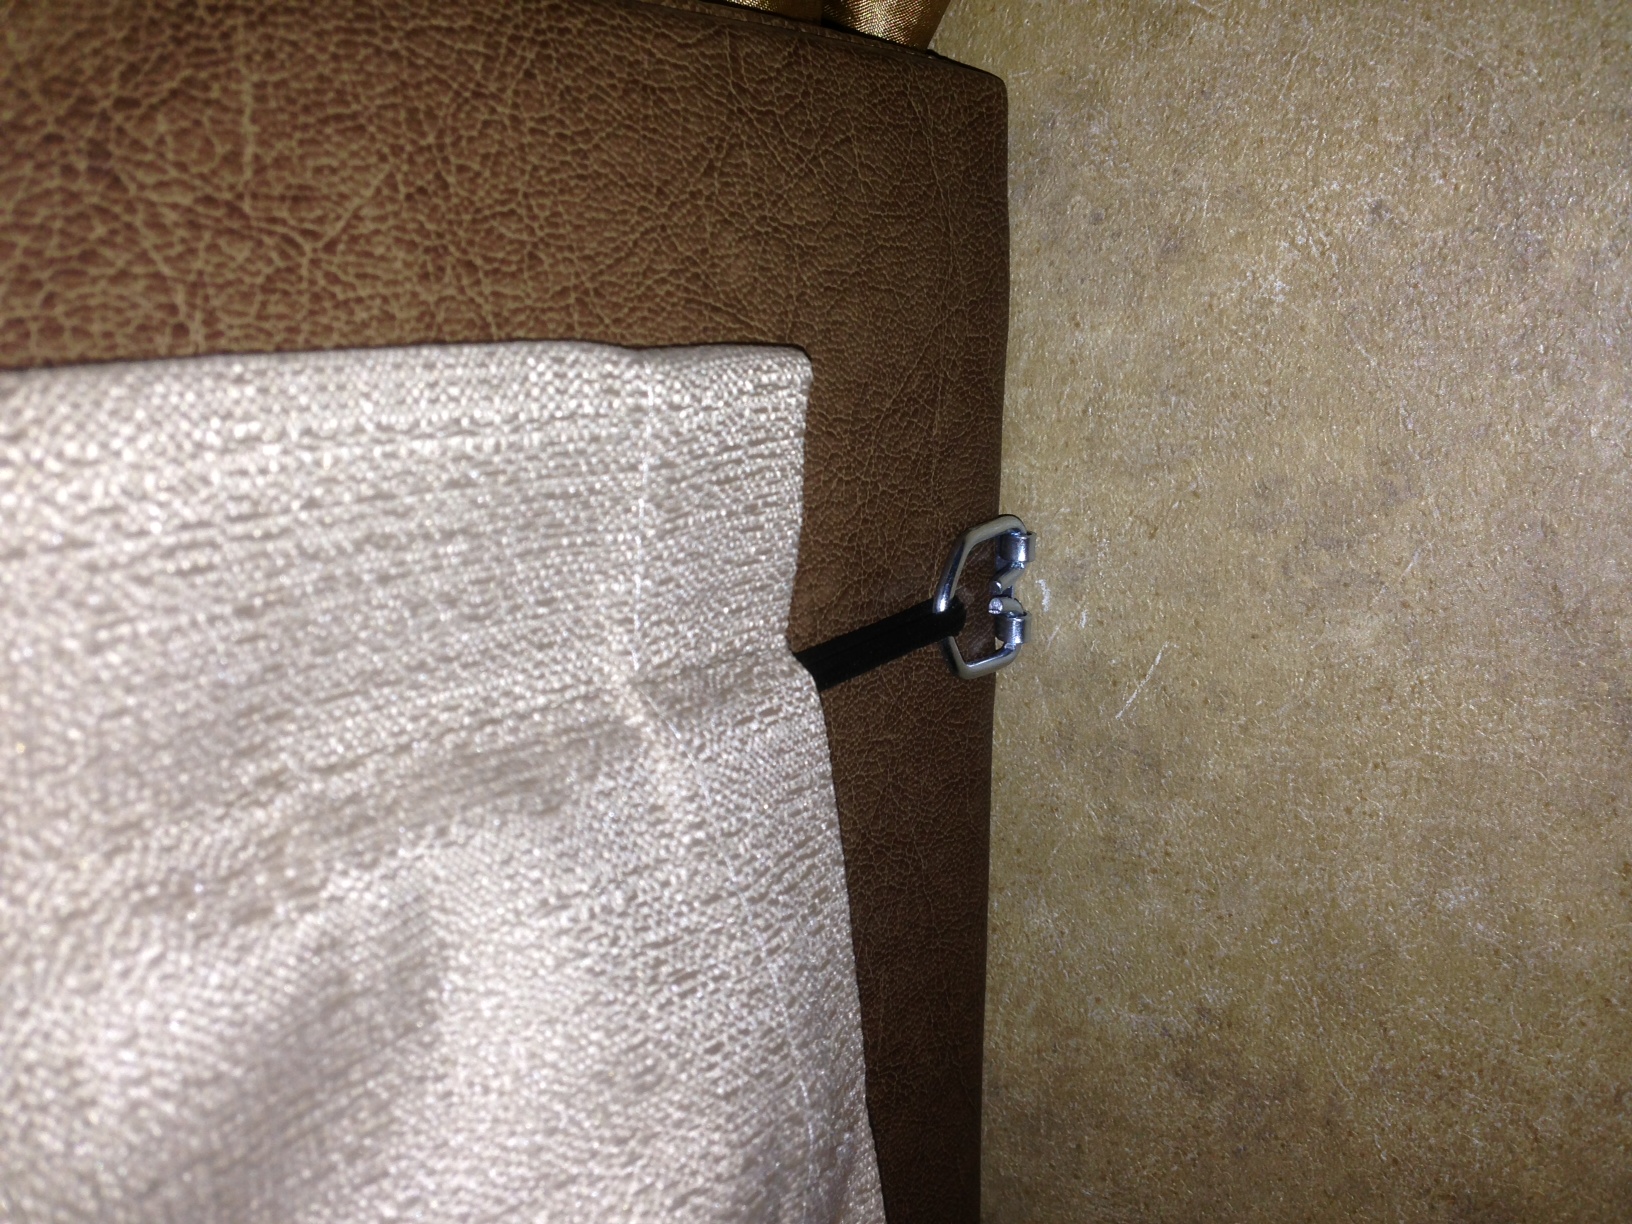
We wanted a nicer way to isolate the cab instead of using the fleece blanket, so I installed some thermal-backed curtains from Walmart that matched our interior.
Discussion thread here: Click
Email me with any tips and tricks you've found useful, tweaks to what I've done here, etc.!
Be sure to check out the UPDATE Tutorial at the end, provided by a kind reader!
| Updated Method by Dragon (yes, that's his real name!) |
(Big thanks to Dragon for offering this additional method, and giving me permission to share it here!)
Hello Jeff!
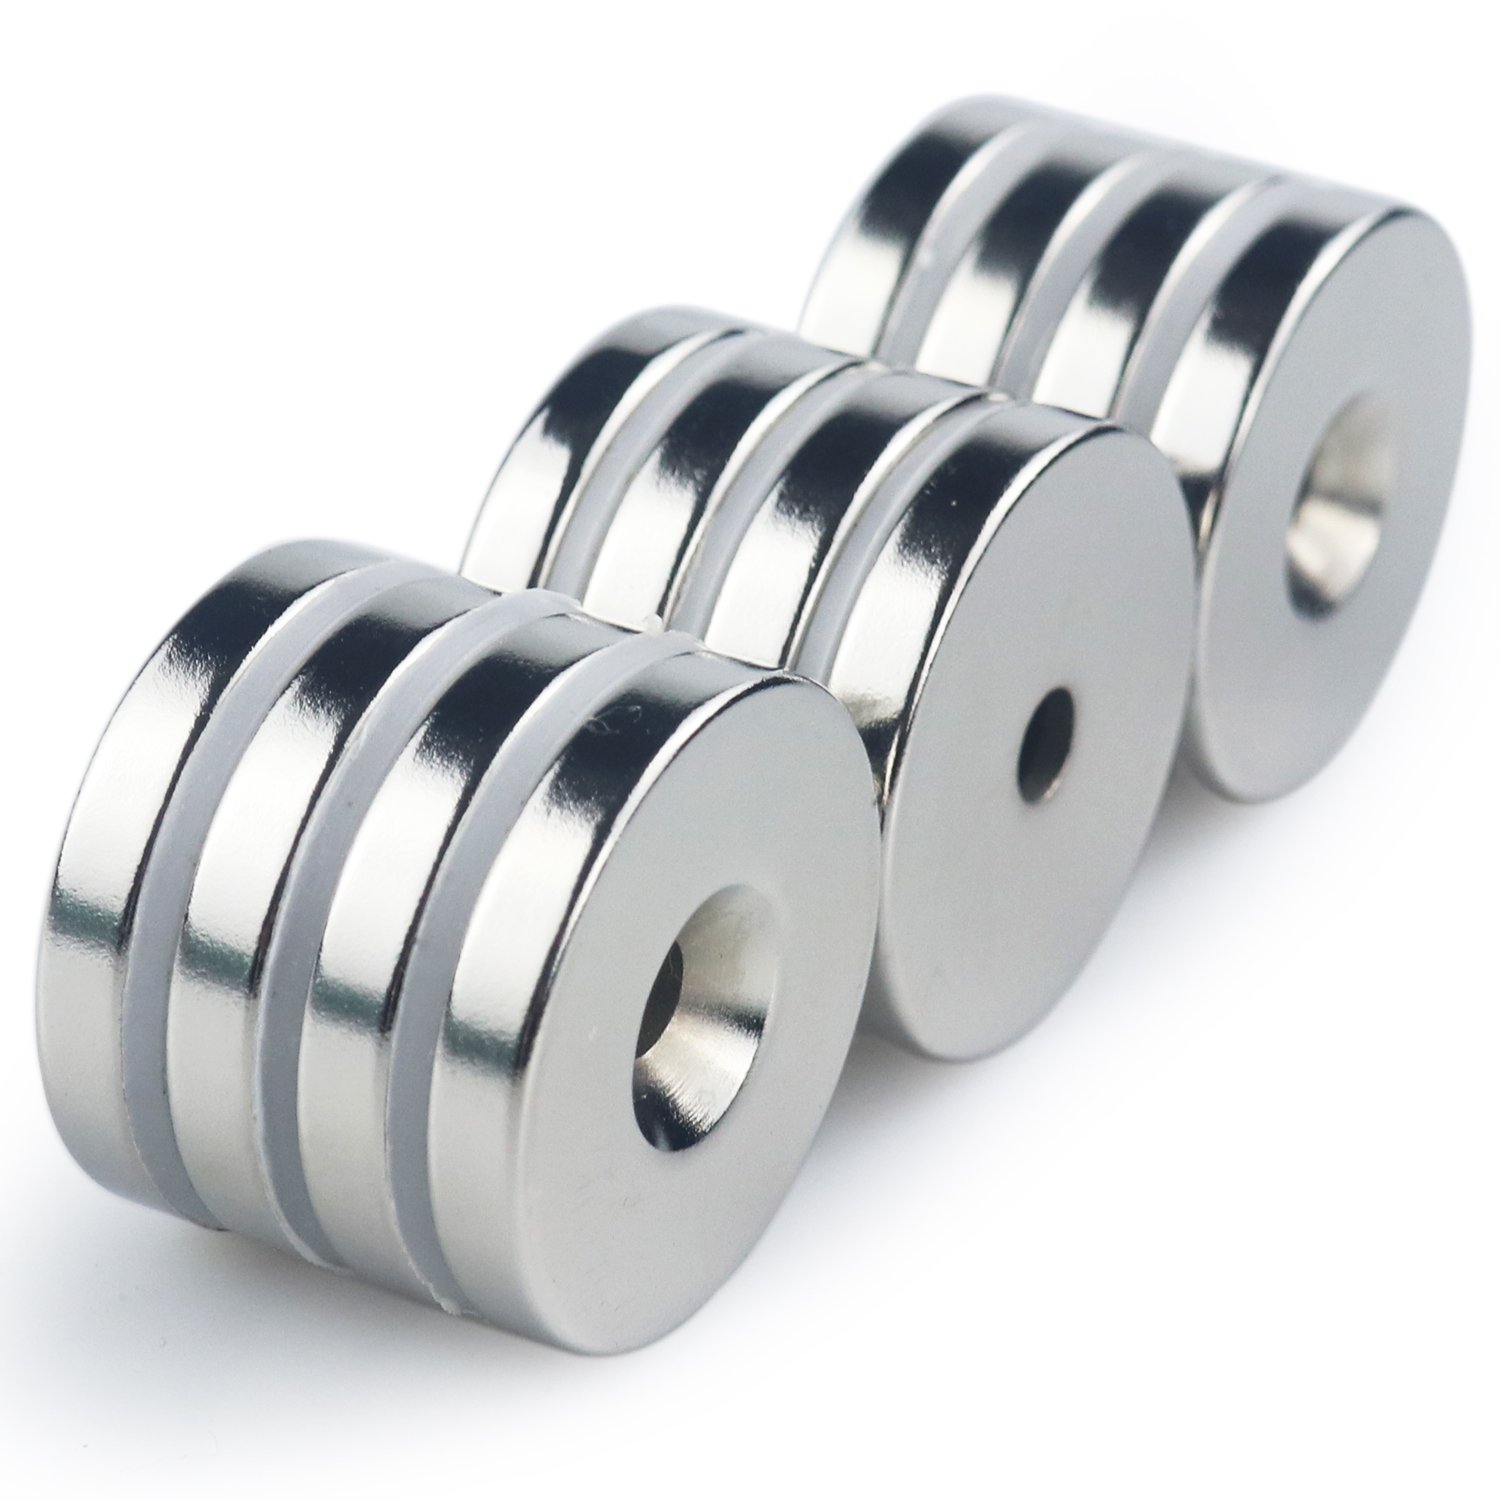
I have a tip that might be quite handy and a lot better than velcro, at least in my opinion. Magnets!
I dislike velcro for many reasons. Or, well, there are actually just 3 (and a half):
- They make noise when opening.
- The side with the little hooks (the hard side) gets caught in clothing when you walk (rub) past them.
- They wear out: the soft side stops working. It depends on the quality on how long that takes but all of them do eventually.
Bonus (the "half" one): If you use the stick-on ones, instead of sewing them on, the glue tends to let go after some time. The glue can even melt when it gets warm enough, which isn't hard in a cab or when you have direct sunlight on it, and then you'd have a sticky mess! Worst about that is is when you don't discover it until you walk past the curtain and the glue sticks to your clothing. Gross.
Now, there are some downsides to magnets as well of course. You'd have to sew them into the lining of the curtain or attach them some other way. I've searched for quite some time for a solution to add them to existing curtains.
The best solution I've found so far is one I just thought up myself by lack of finding anything better. This one also means you can let your curtains hang, and that would even be preferable so you can see how they drape and fall closed once you have the magnets in place.
- Take magnets with a hole in the middle (or even ones with multiple small holes). It doesn't matter if they're square or round just make sure they have no sharp edges or corners, use a bit of sandpaper of a file if they're sharp. I suppose you could even drill a hole through the middle yourself.
- Use the hole(s) to sew them to the outside or inside of the curtains, making sure you have the poles (the + and - sides) aligned in the way you want your curtain to hang. Make sure you have some overlap so light and warmth can't get past.
- Done!
Another method I just thought of while writing this would probably be more elegant because you won't see the magnets but it would also probably let through more light/heat because there would be very little overlap. It also depends on how your curtains are sewed on how easy it is or if it's possible at all.
What this is is that you would be placing the magnets directly inside the existing horizontal seams where the curtains meet--if your seams are big enough to fit small magnets. These magnets DON'T need holes. I have no experience doing this but nevertheless I've tried to make a tutorial for you based on how I'd do it if I wanted to do it myself. Of course it's totally up to you on how you want to do this.
What I would do is this:
- While the curtains are still hanging measure how many magnets you have versus how long your cloth is. I have no idea how many magnets you'll need to keep it closed to your satisfaction so I'd recommend testing that out by sticking the curtains together by placing the magnets on each side of the curtains before sewing them in. I think you'll want two people for this, one on each side of the curtains.
- Take down the curtains and loosen the stitching on the side which it's the easiest or least visible on. I think that would be the underside.
- Drop or work the magnets down the seam one at the time, again paying attention to the plus and minus sides (you don't want your freshly sewn-in magnets repelling each other, though if you make a mistake you might--with some or a lot of wiggling- be able to flip the magnet while still inside the lining).
- Sew a small seam on the underside of where you want the magnet to prevent it falling down, or sew a small pocket to keep it more firmly in place. You might want to do this after each magnet instead of dropping them all in at once.
- Don't forget to close the underside and place a magnet there too.
- Done! (I hope ;)
EXTRA TIP: You can also use magnets to hold the curtains closed to the sides.
I hope this might prove useful to you or, if not, that you would consider posting this on your site so other people could make use of it. It would be much appreciated if you would put this online! Good luck with everything and I look forward to reading the rest of your tips, tricks, DIY's, projects and posts. You're very inventive and I greatly appreciate that!
Dragon