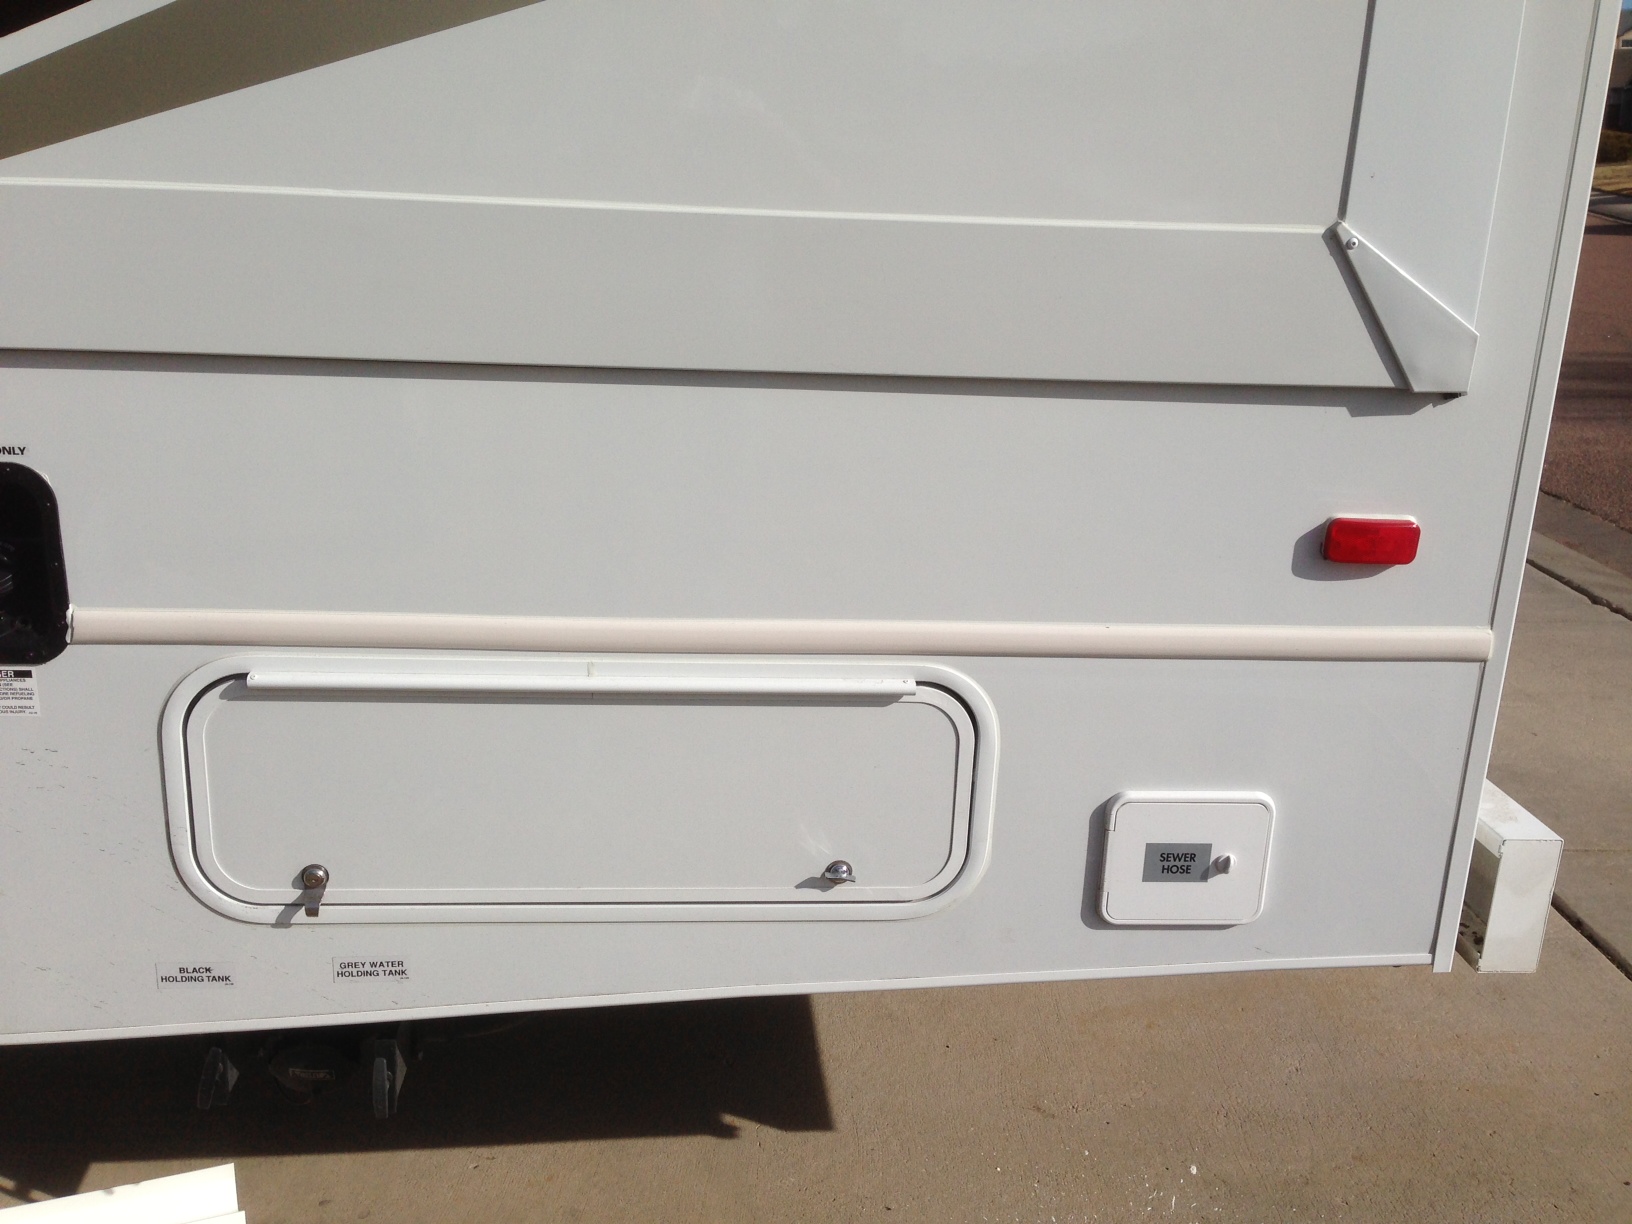
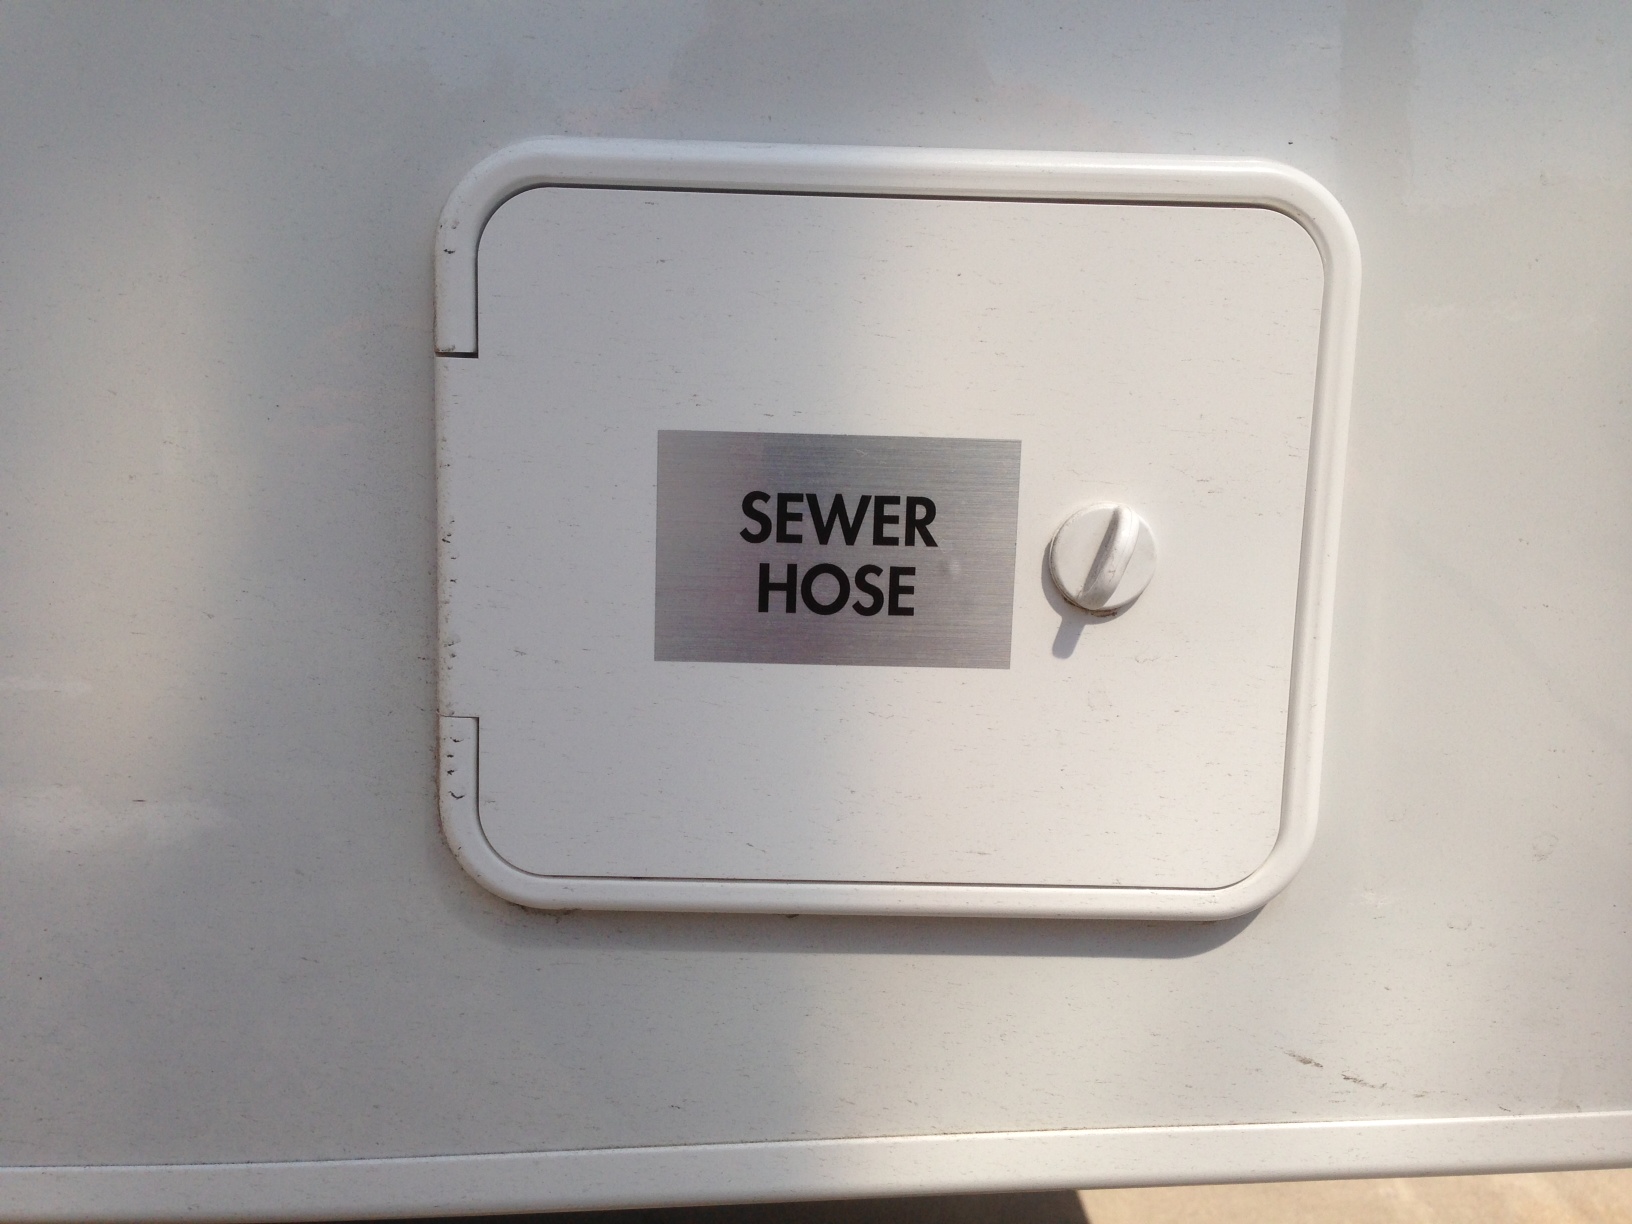
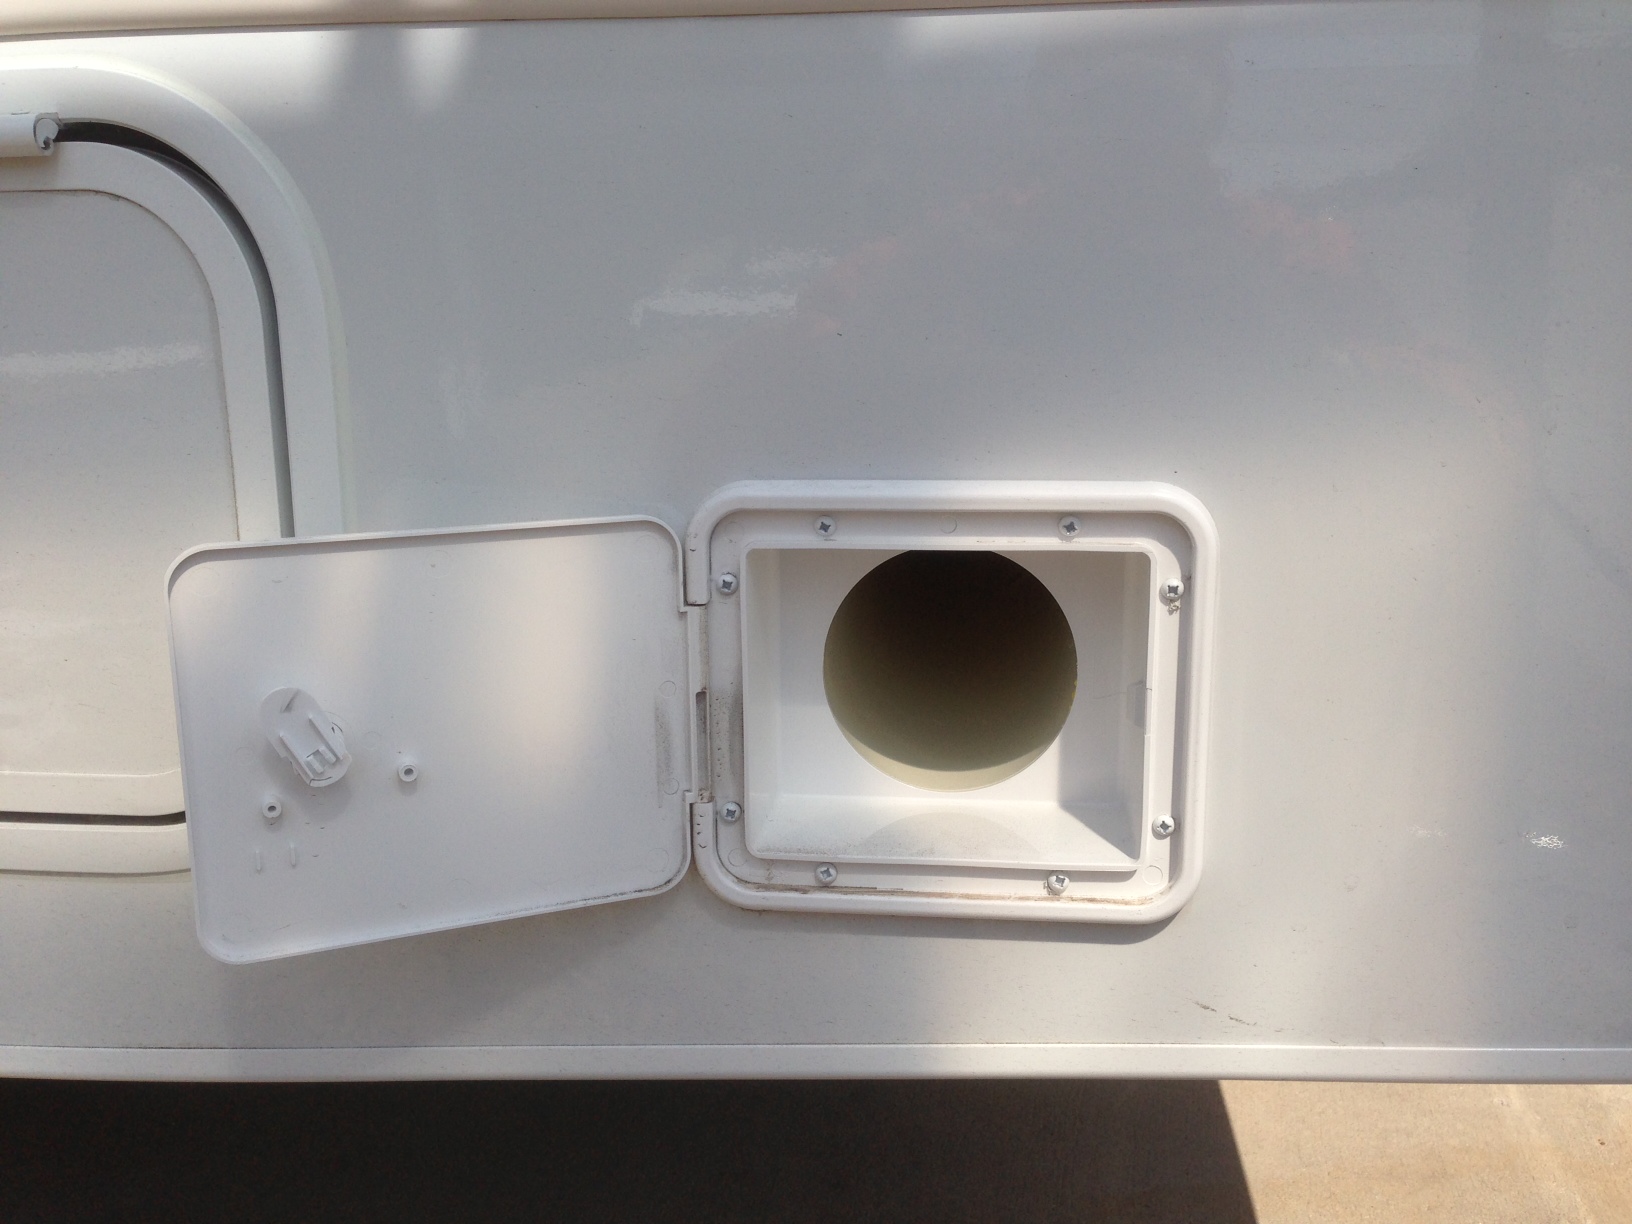
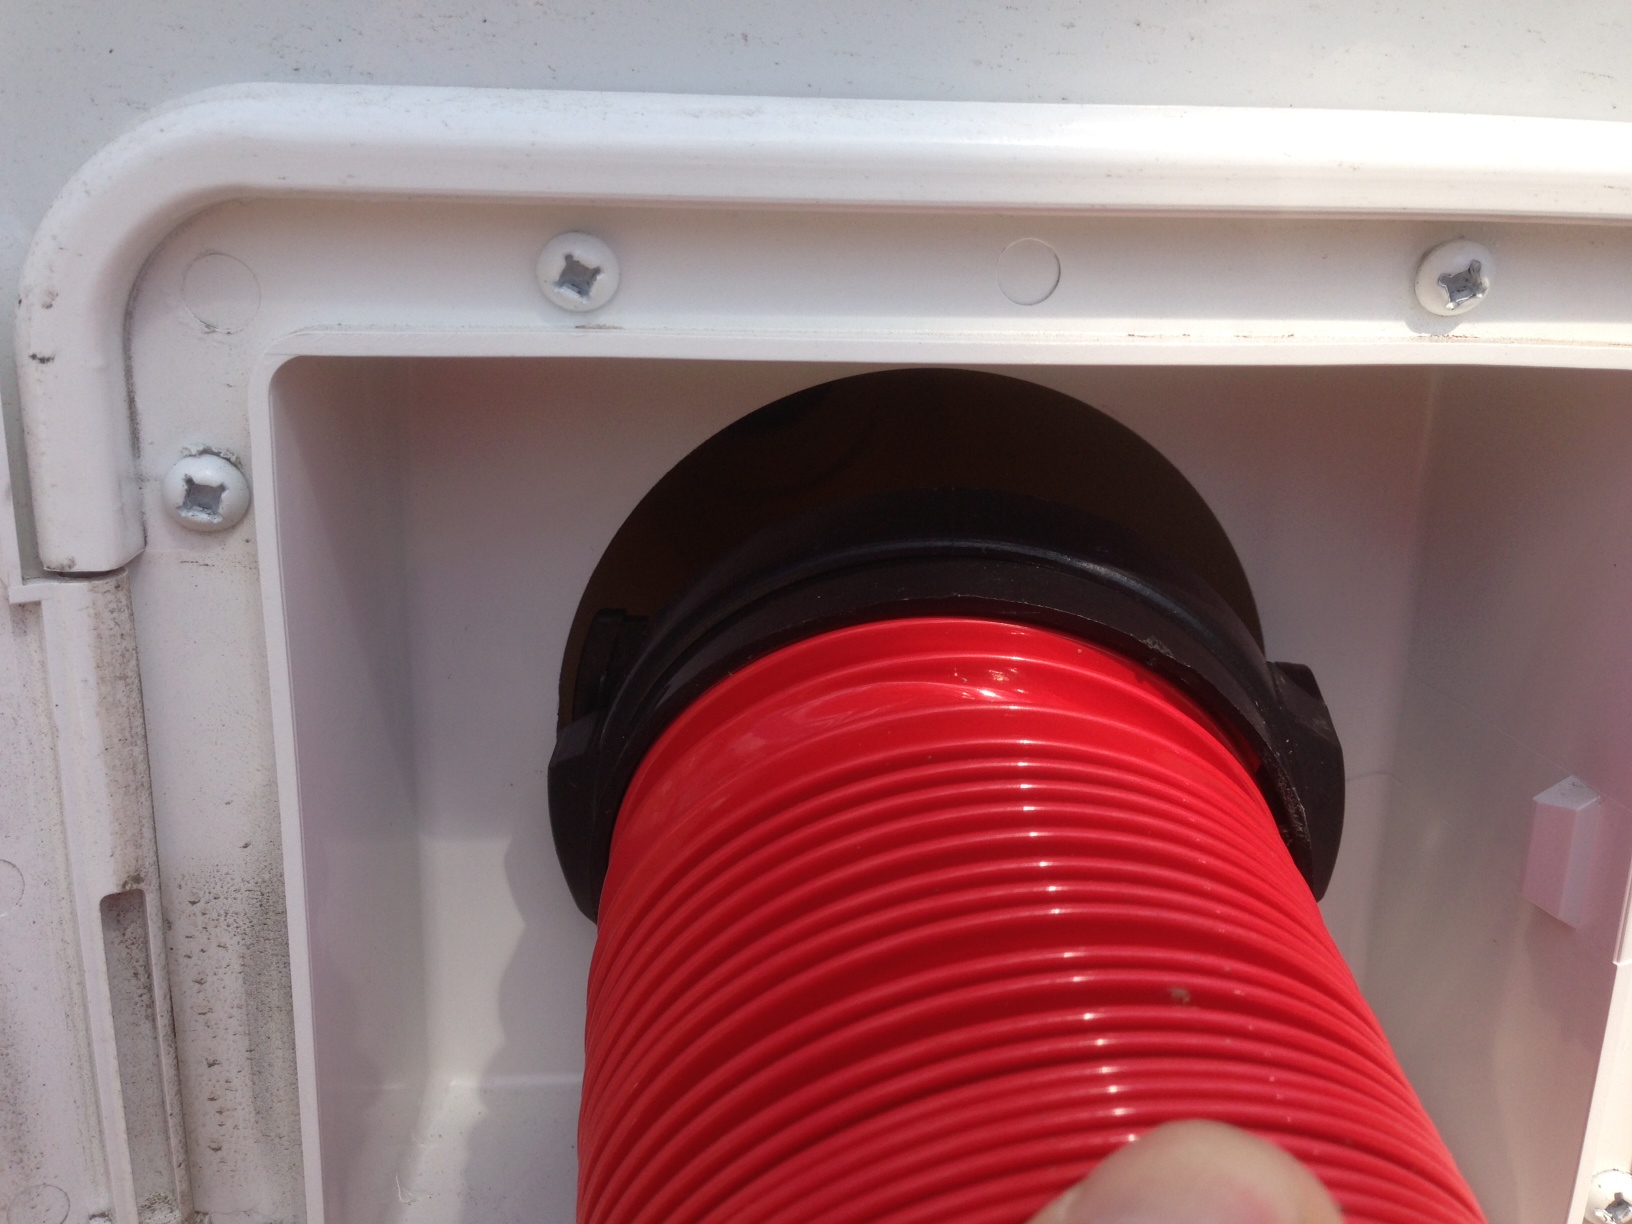
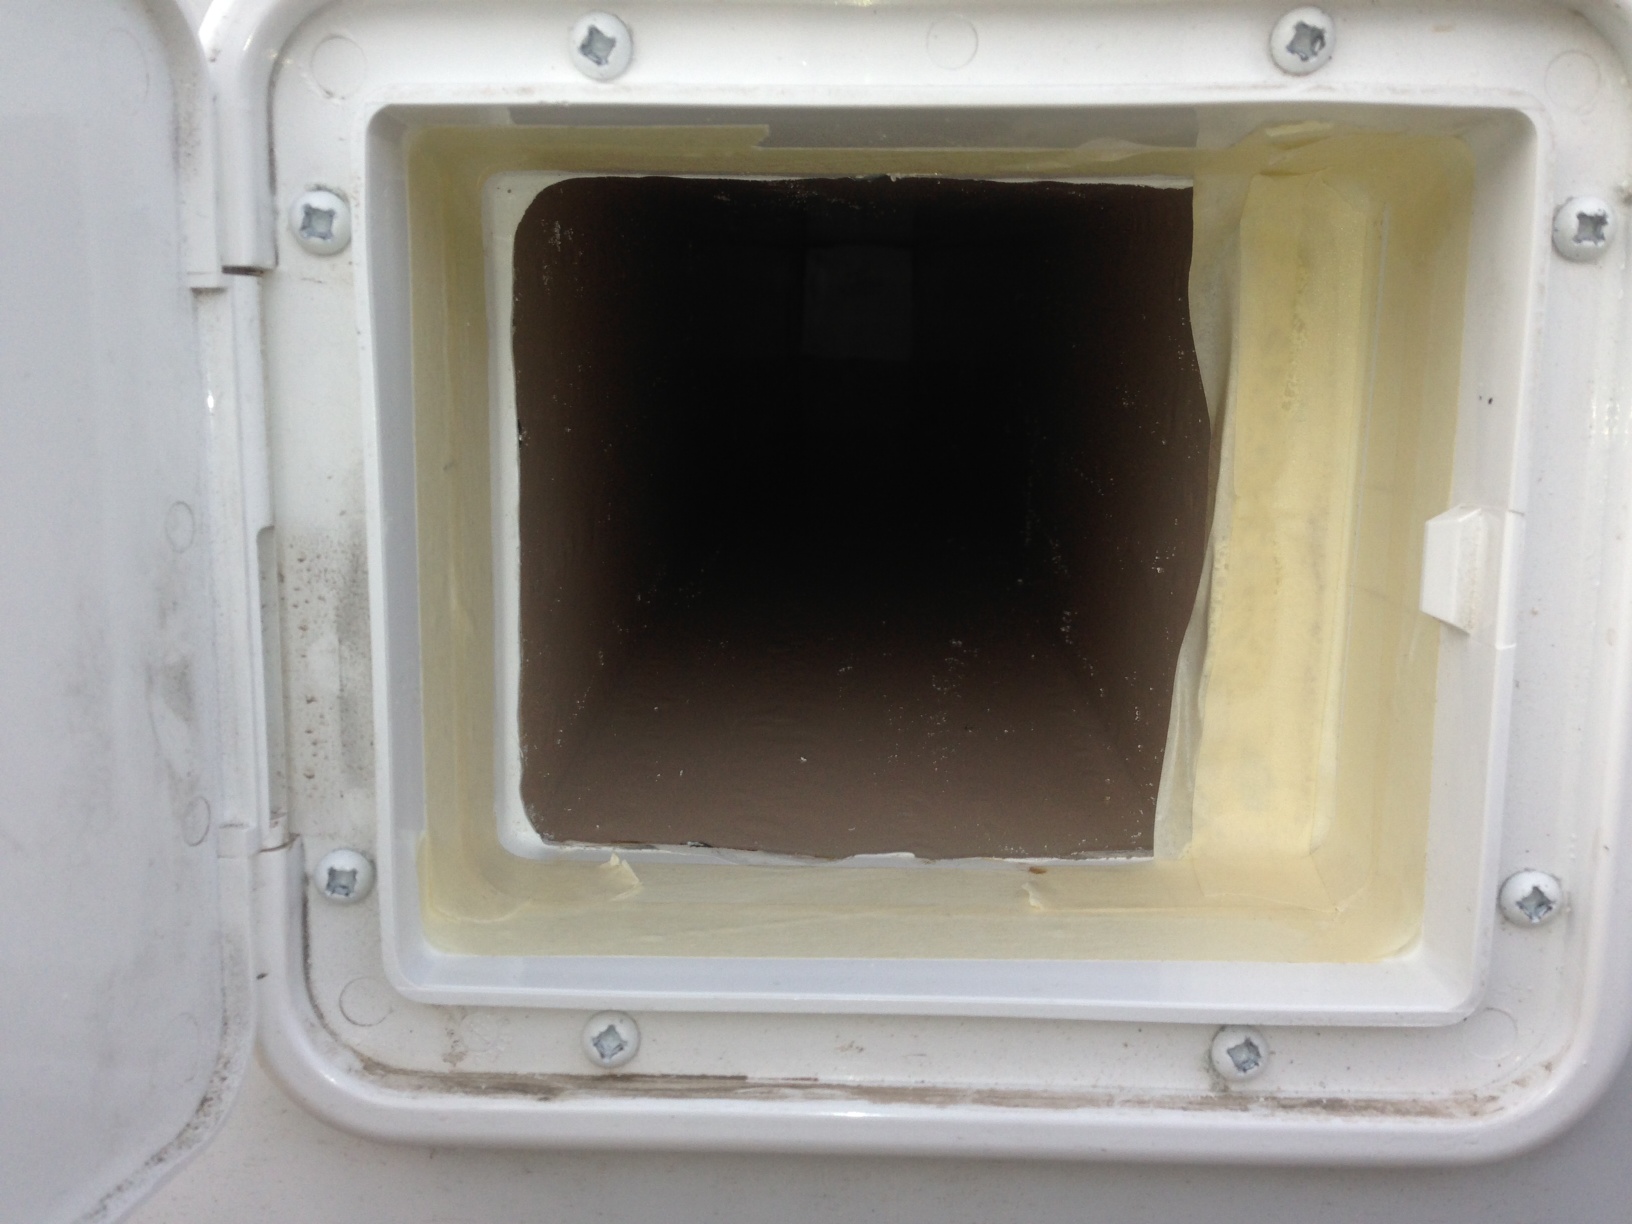
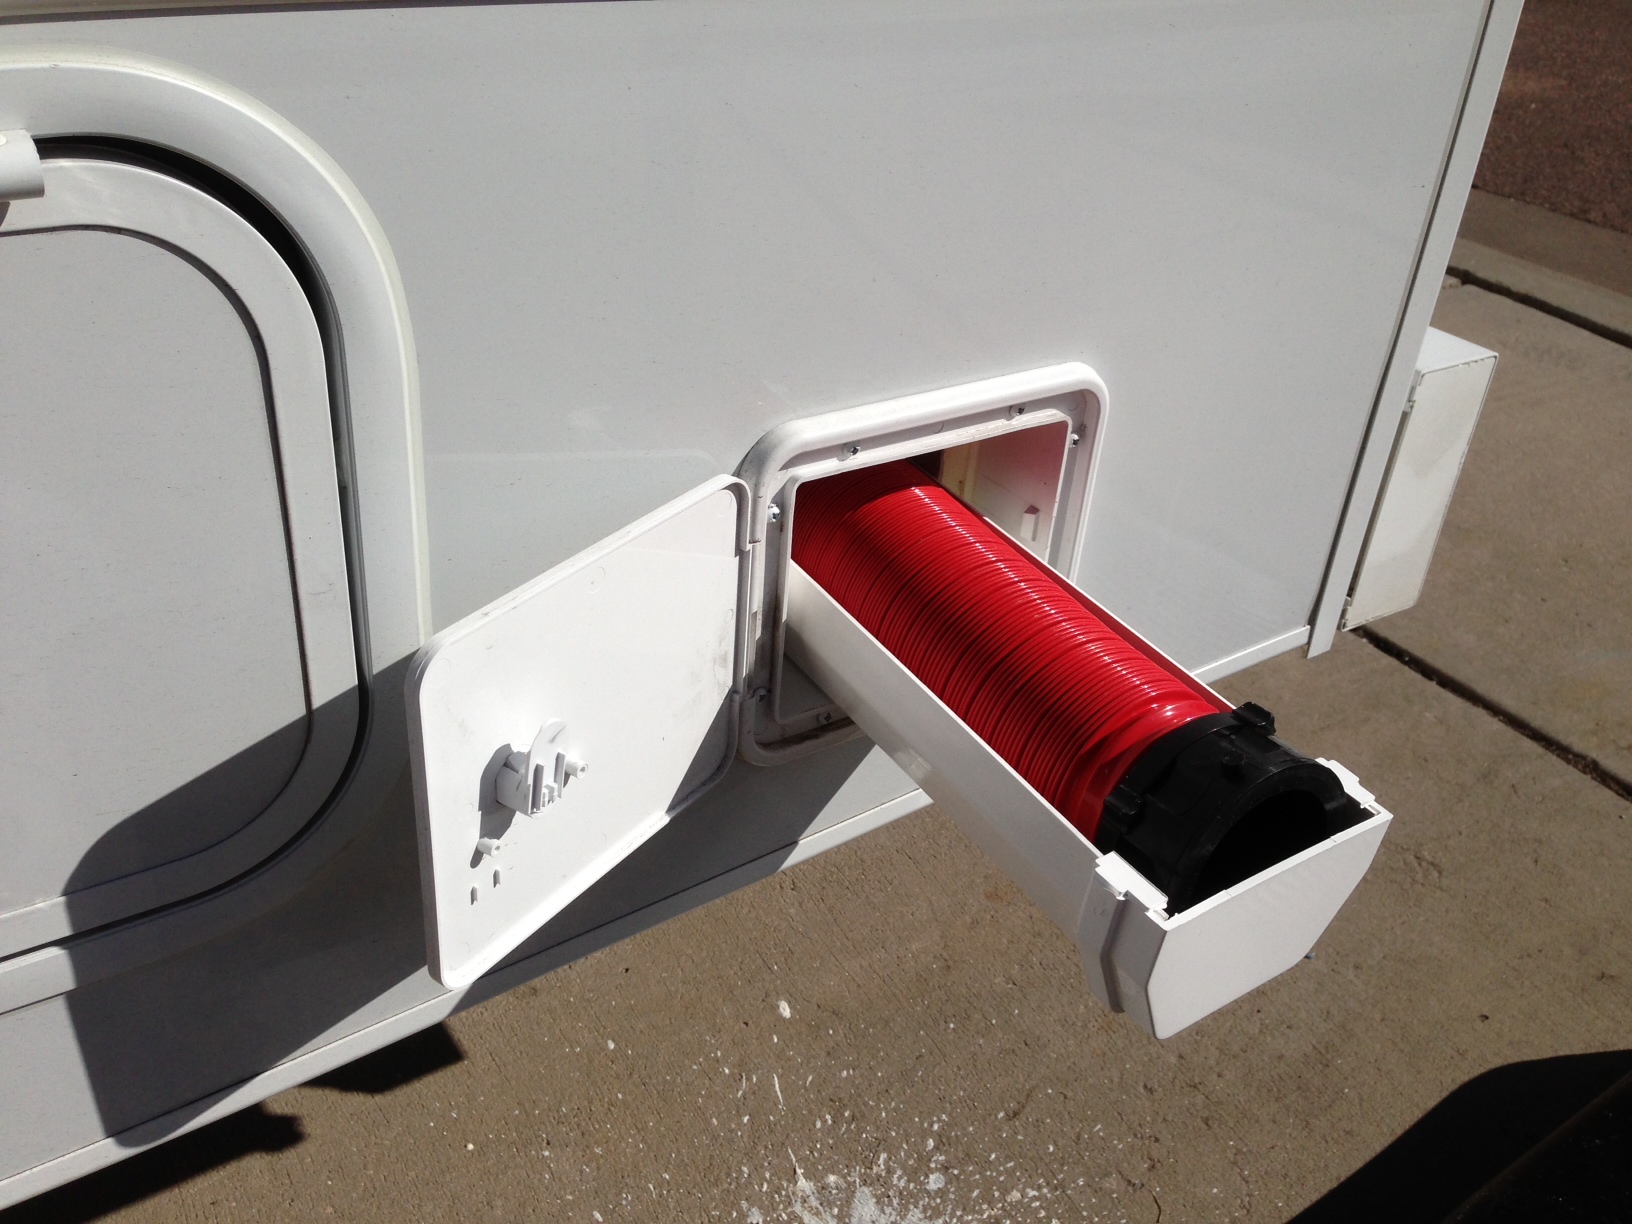
Stinky Slinky Mod
Parts for this mod:
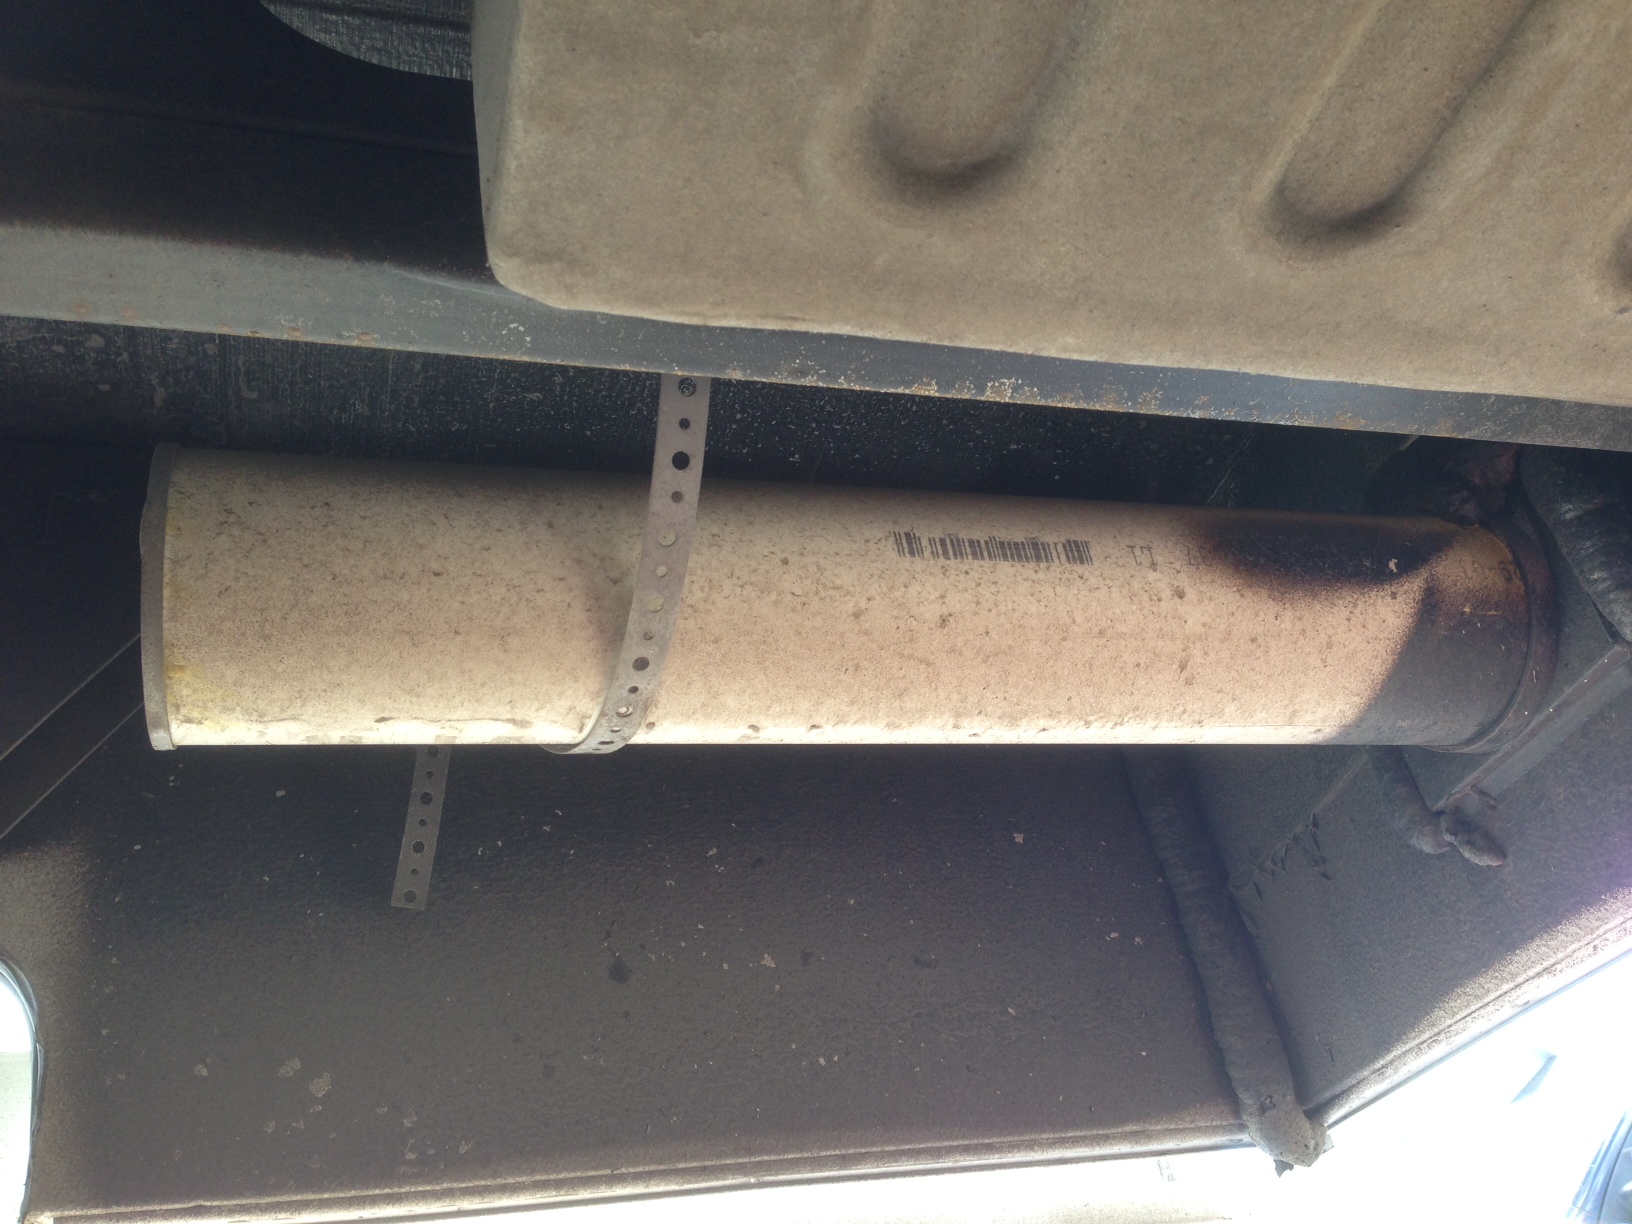
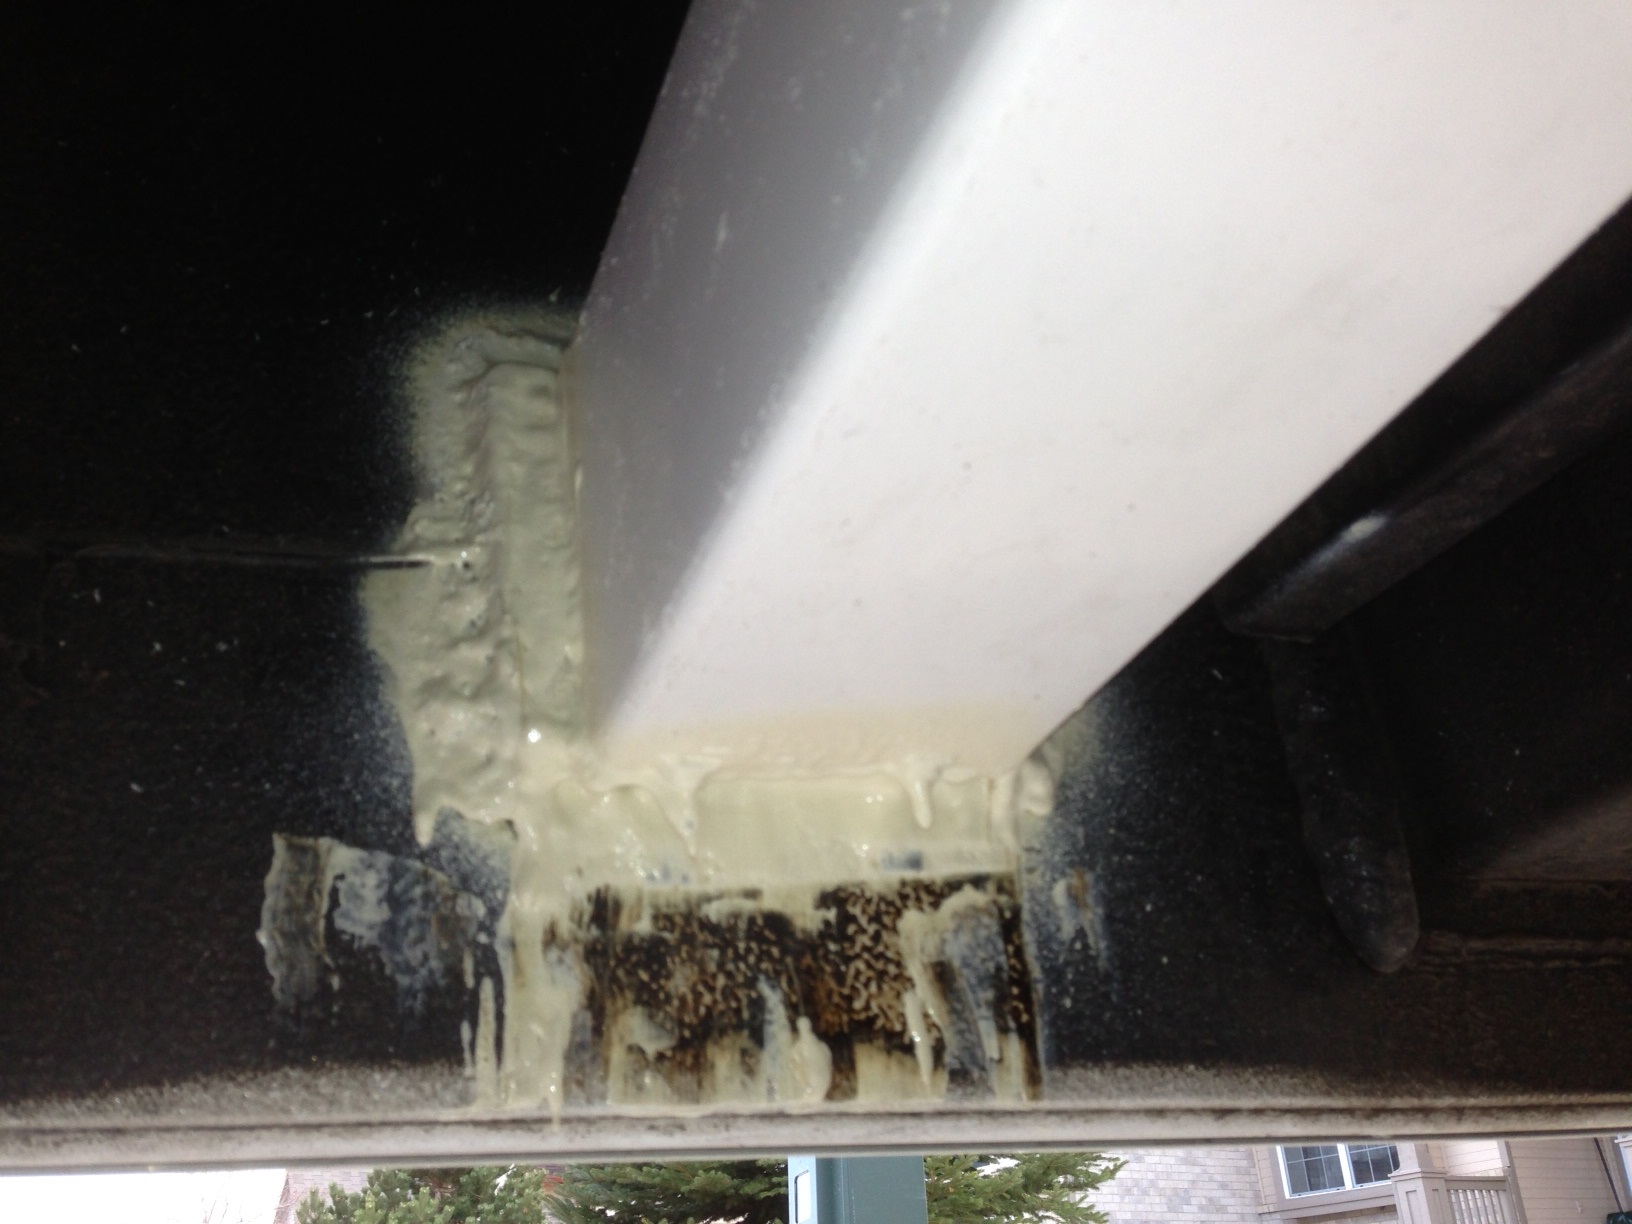
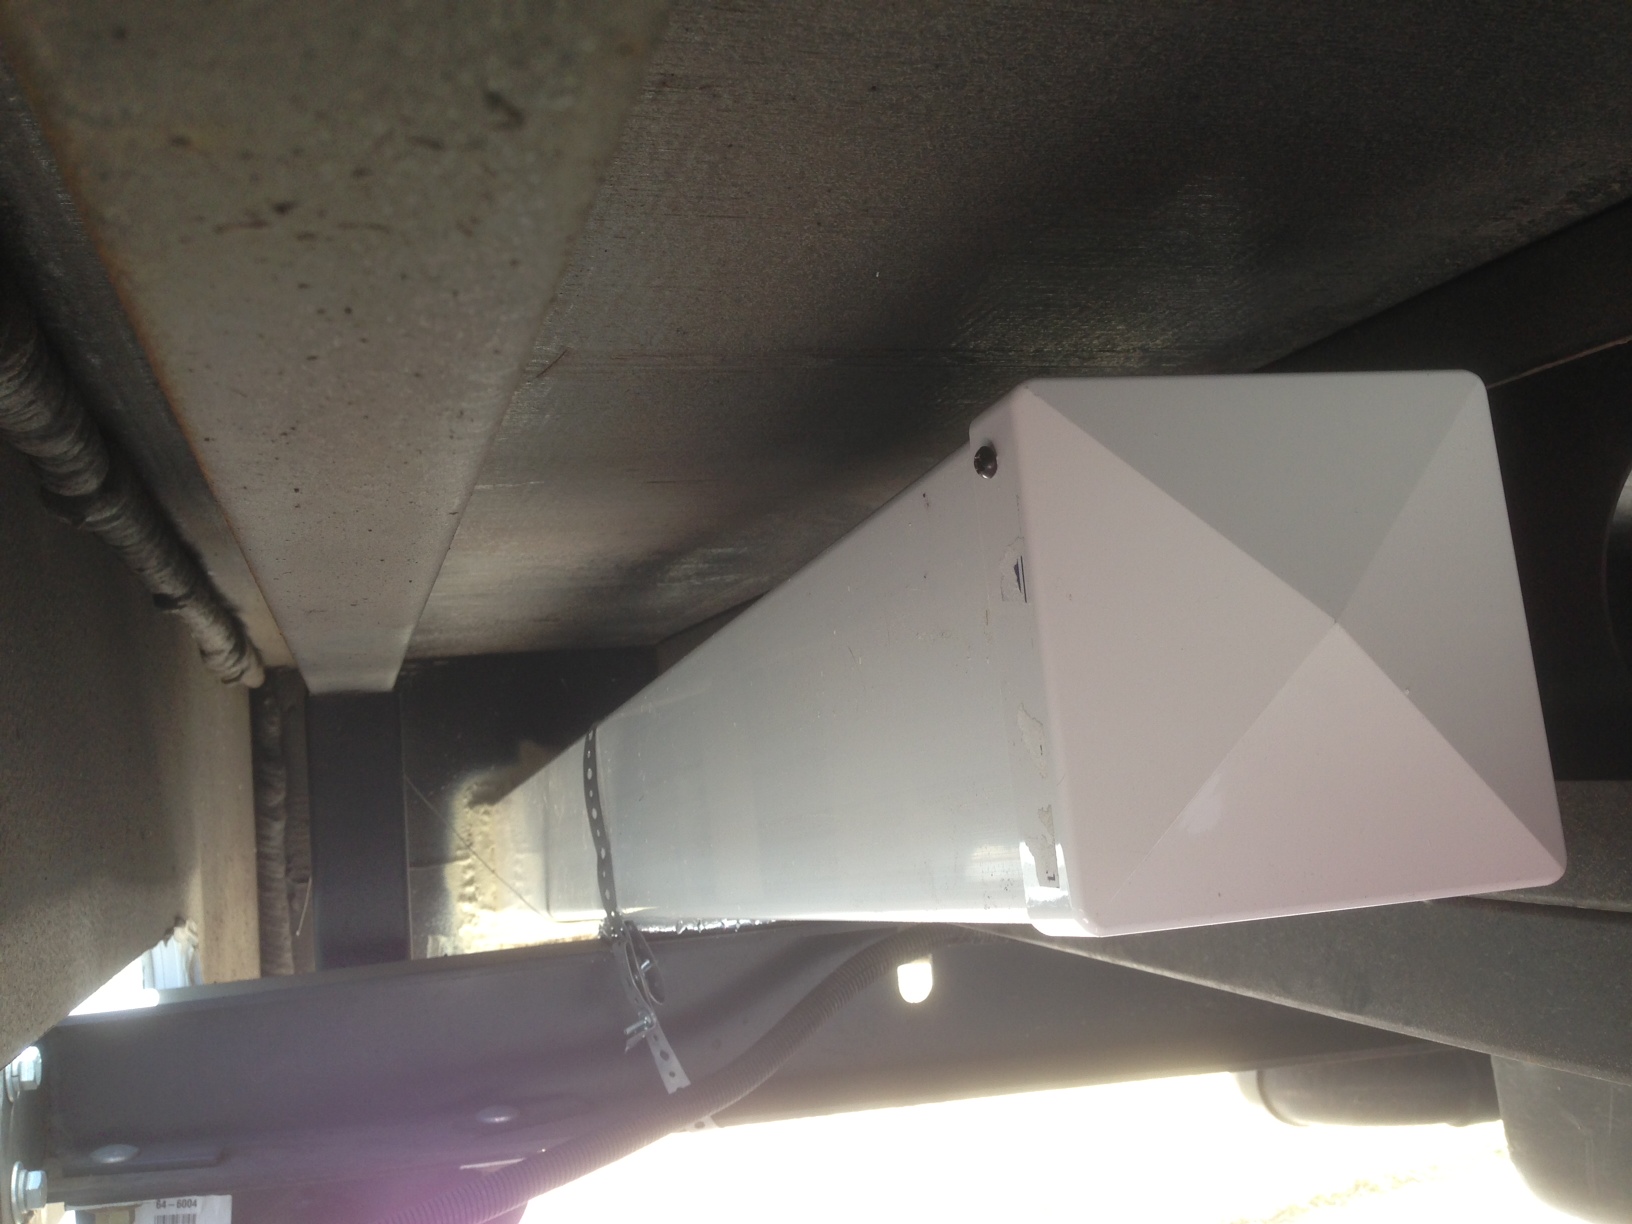
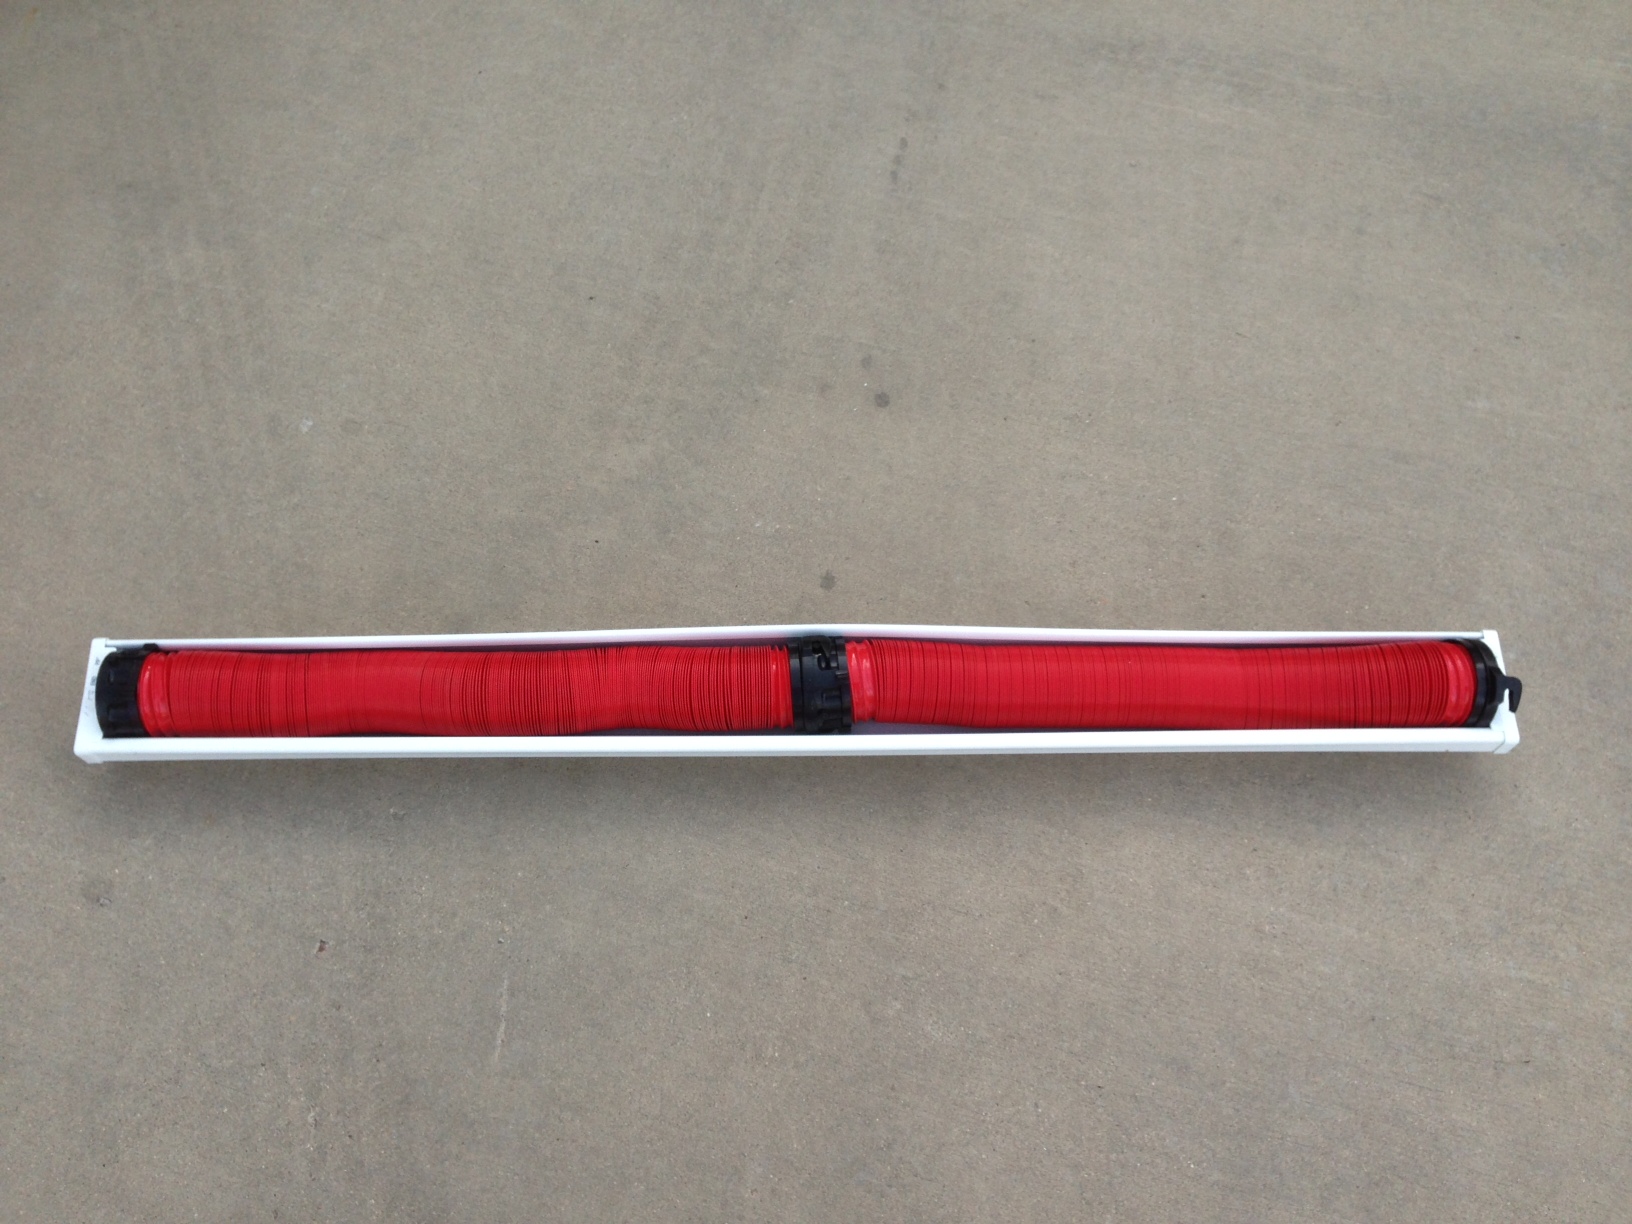
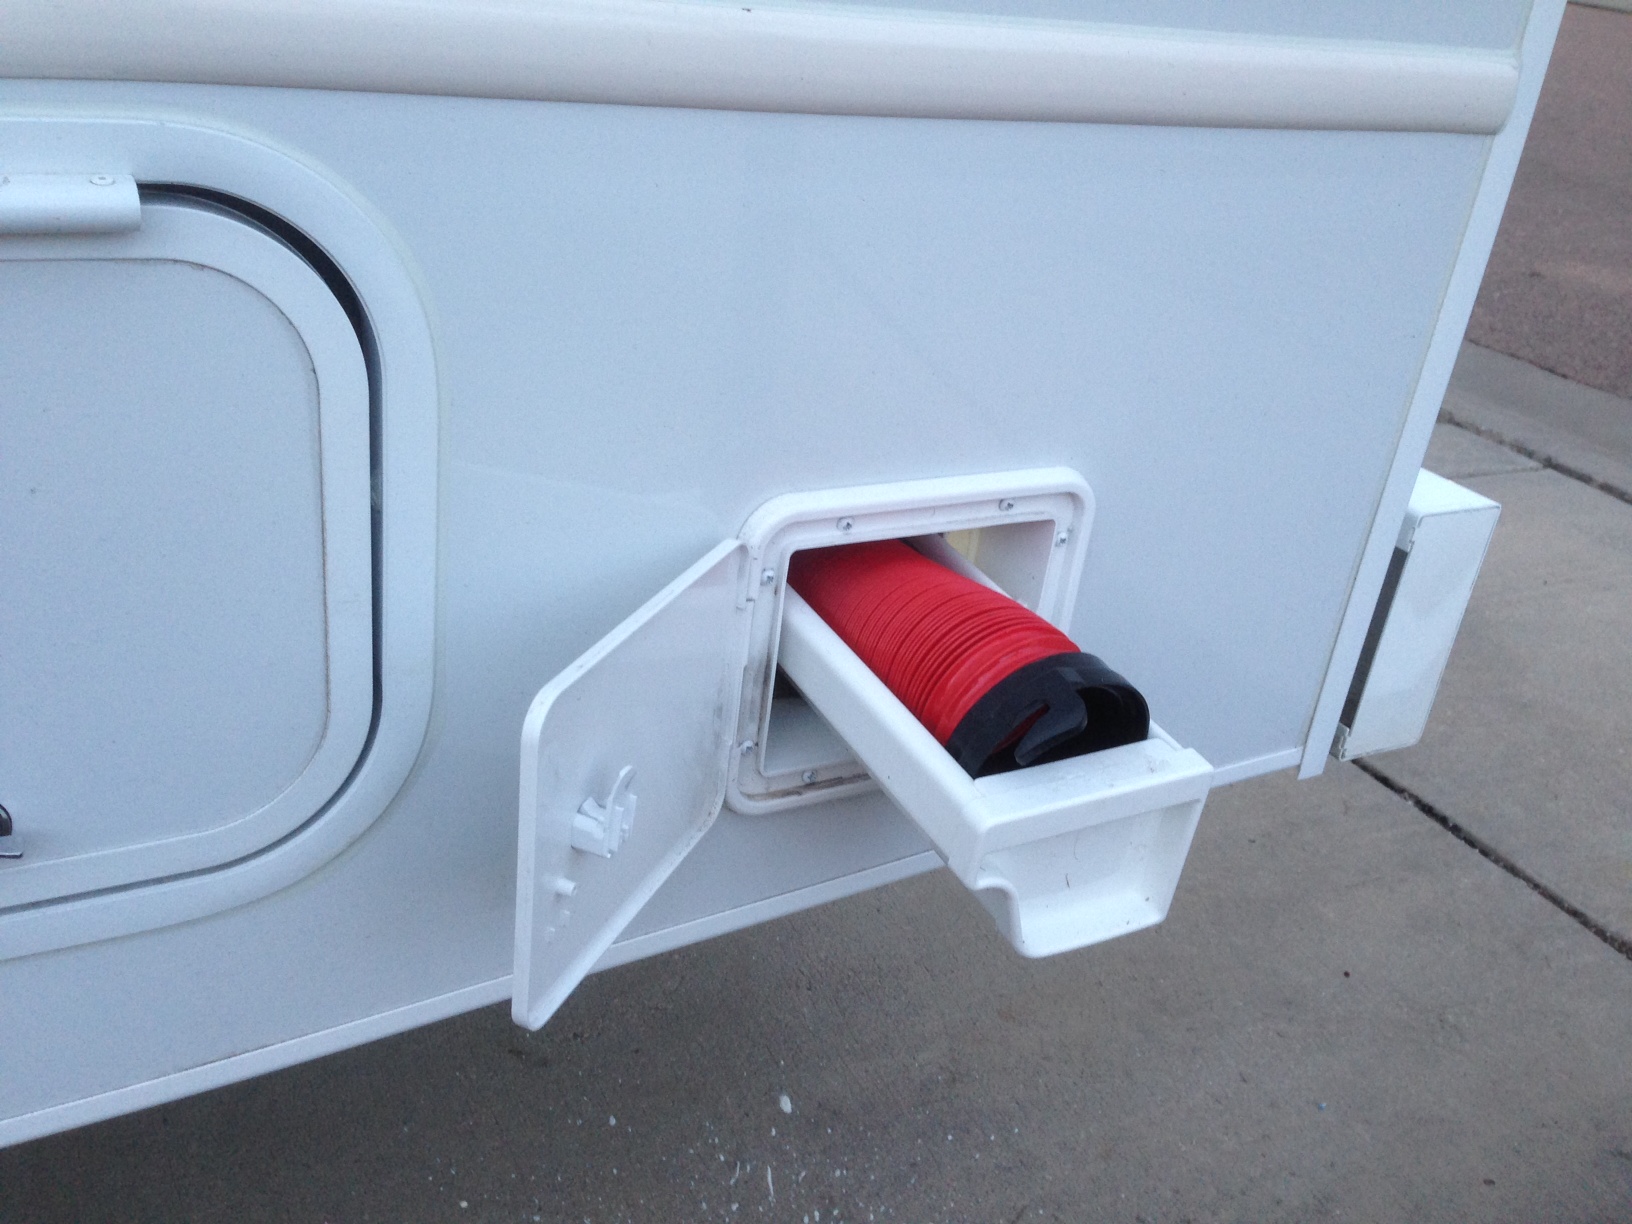
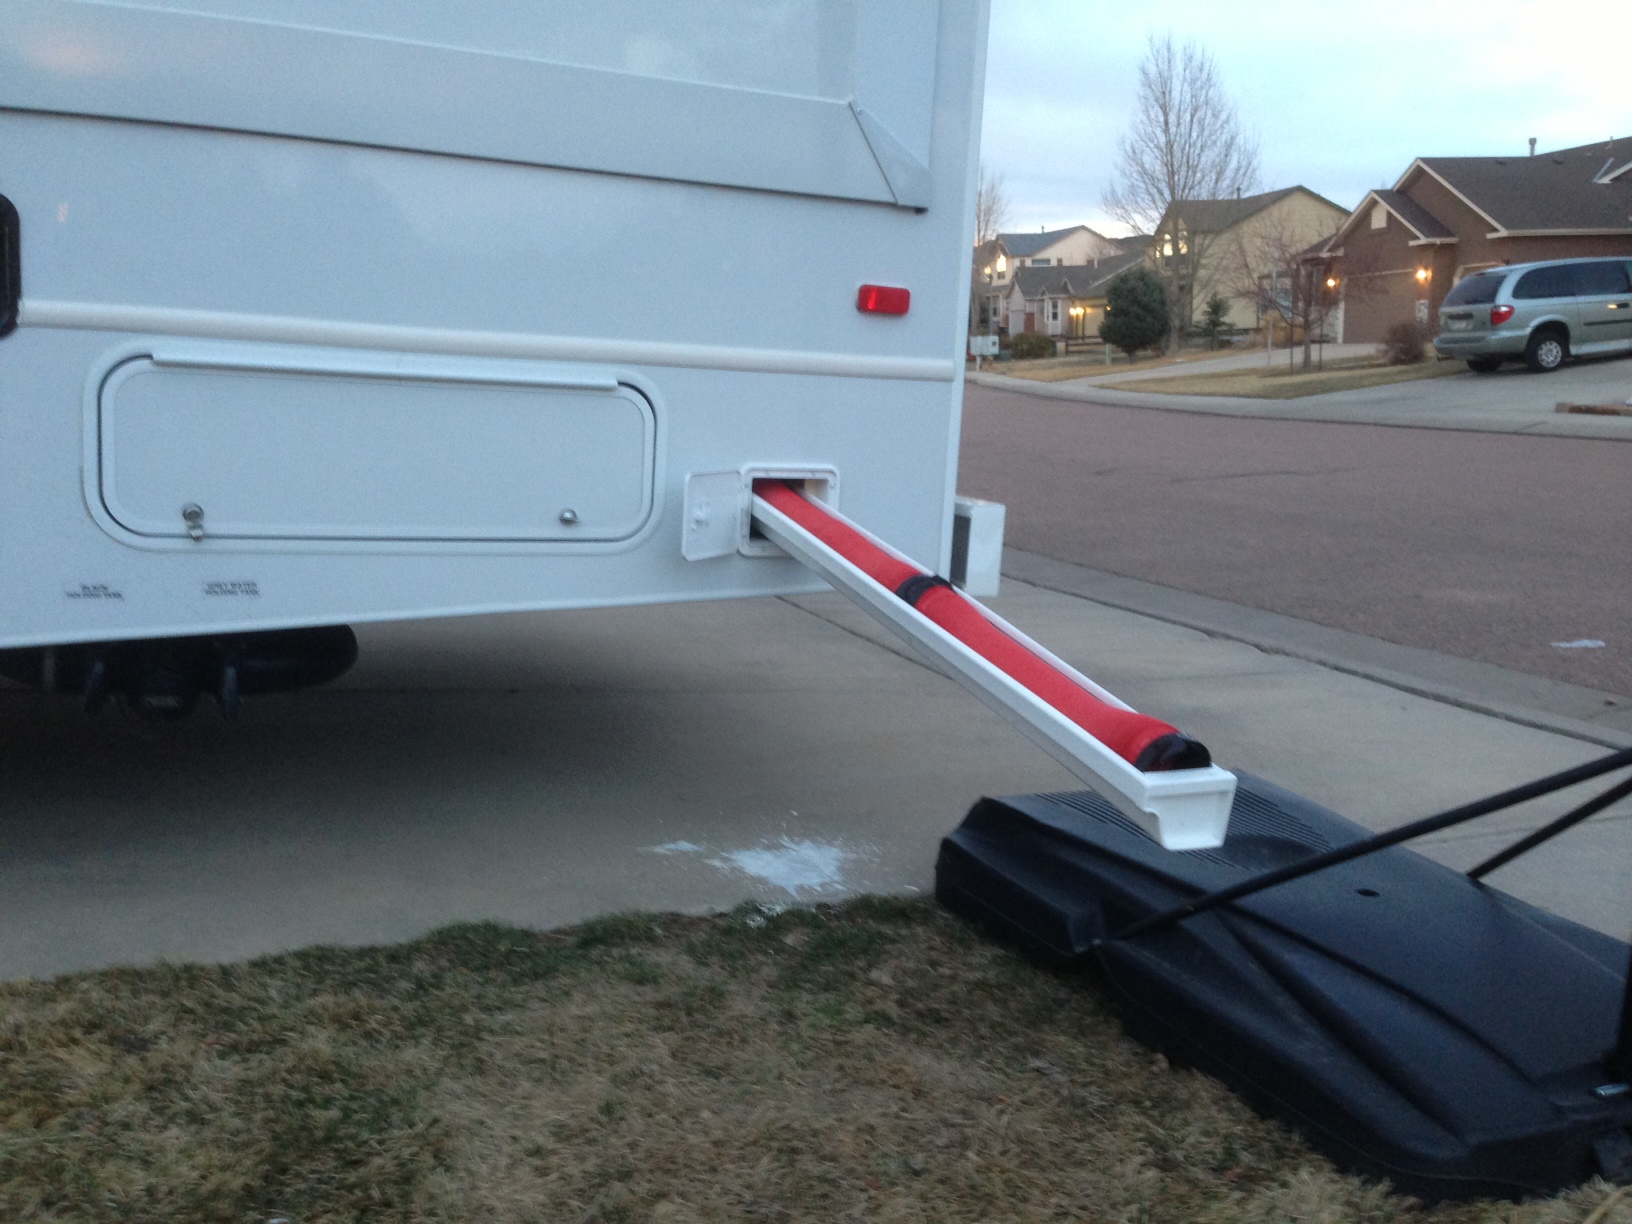
- One length of 5"x5" vinyl fencepost. I used 4'7" of "Gateway 5-in x 5-in x 8-ft White Vinyl Fence Post" (Item # 17708) from Lowes.
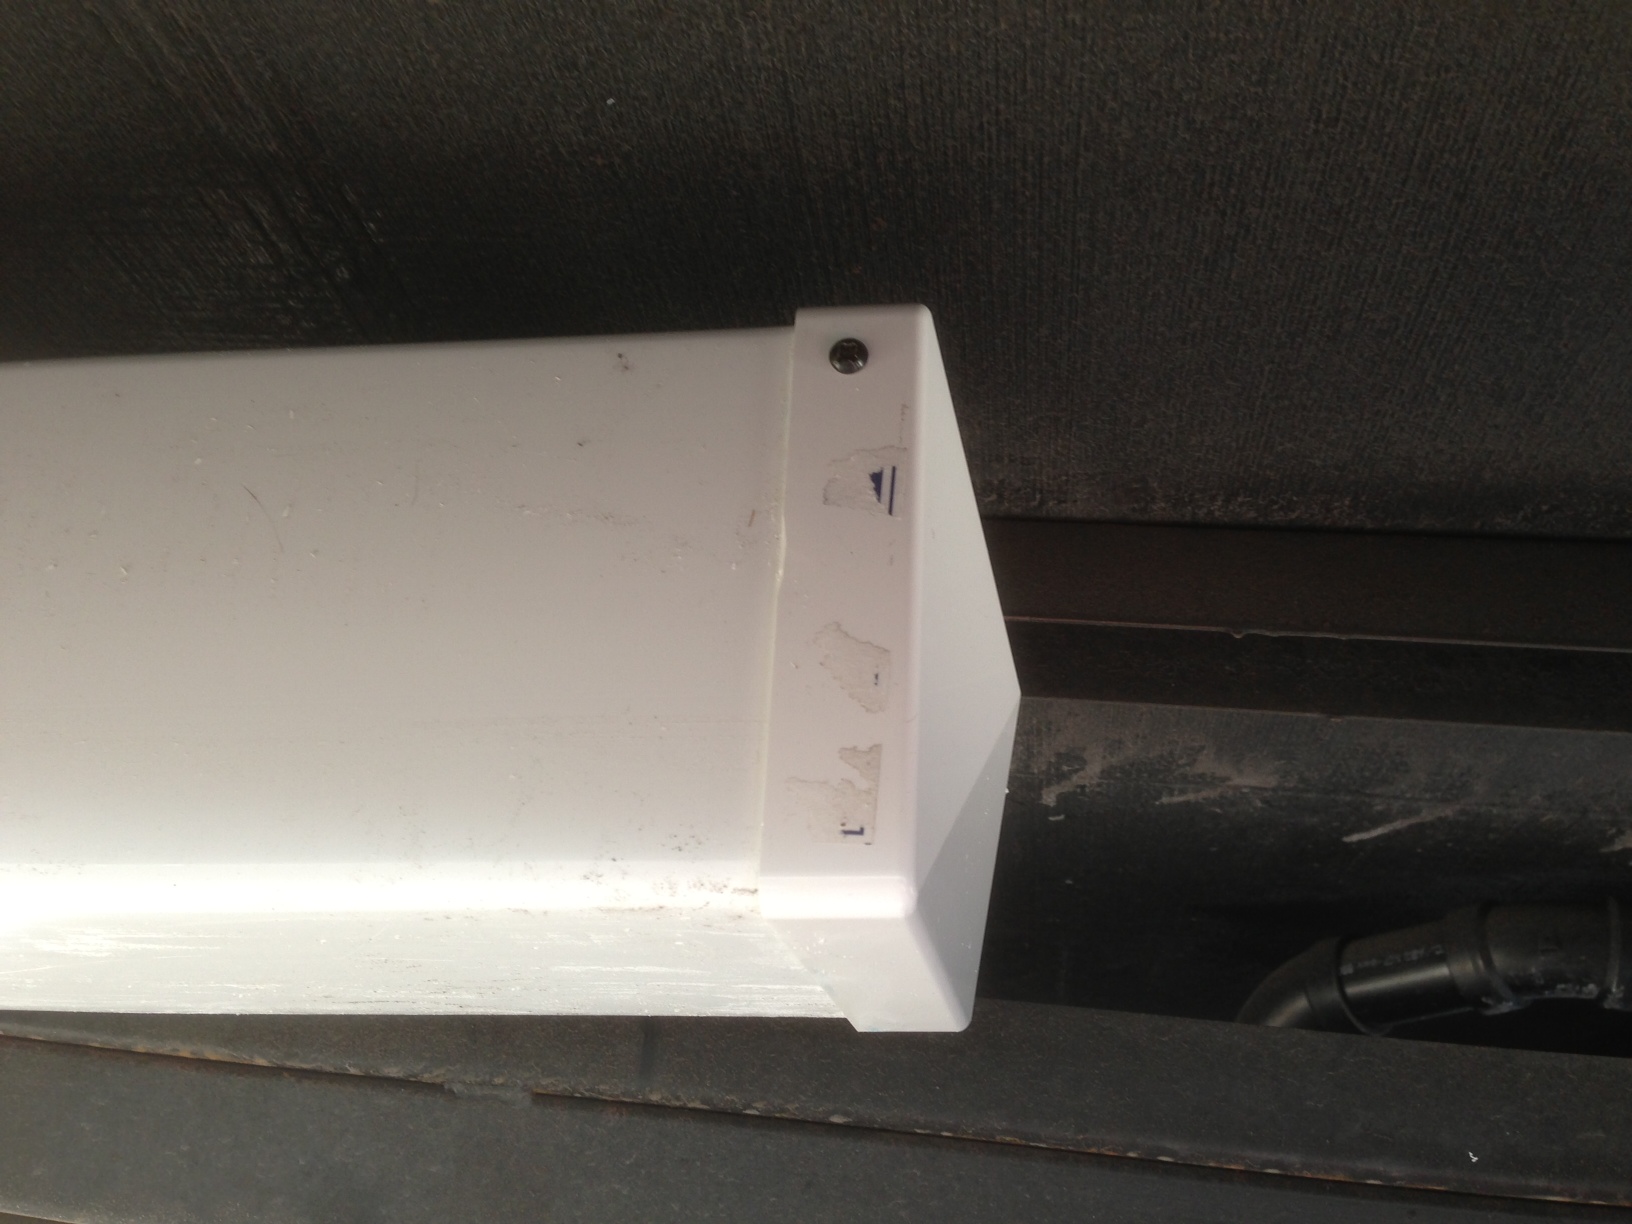
- One fencepost end cap to fit the post (Item # 87410).
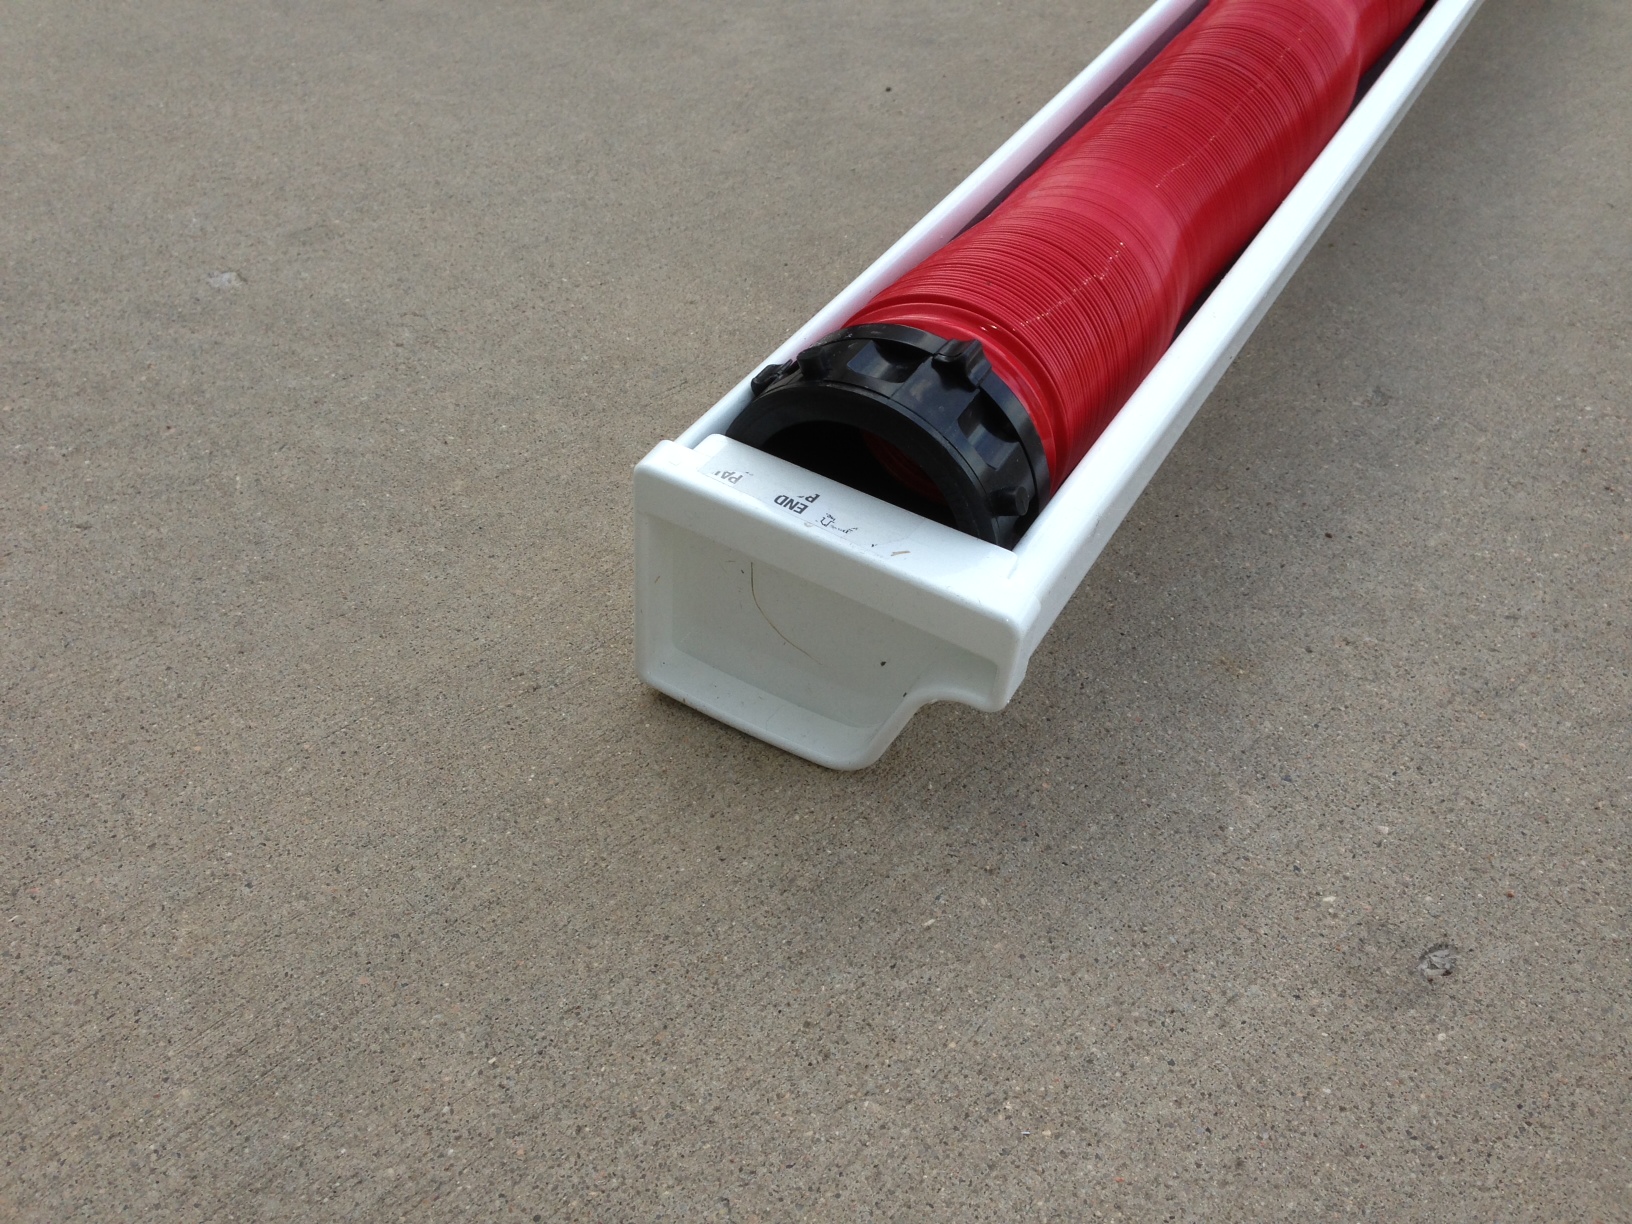
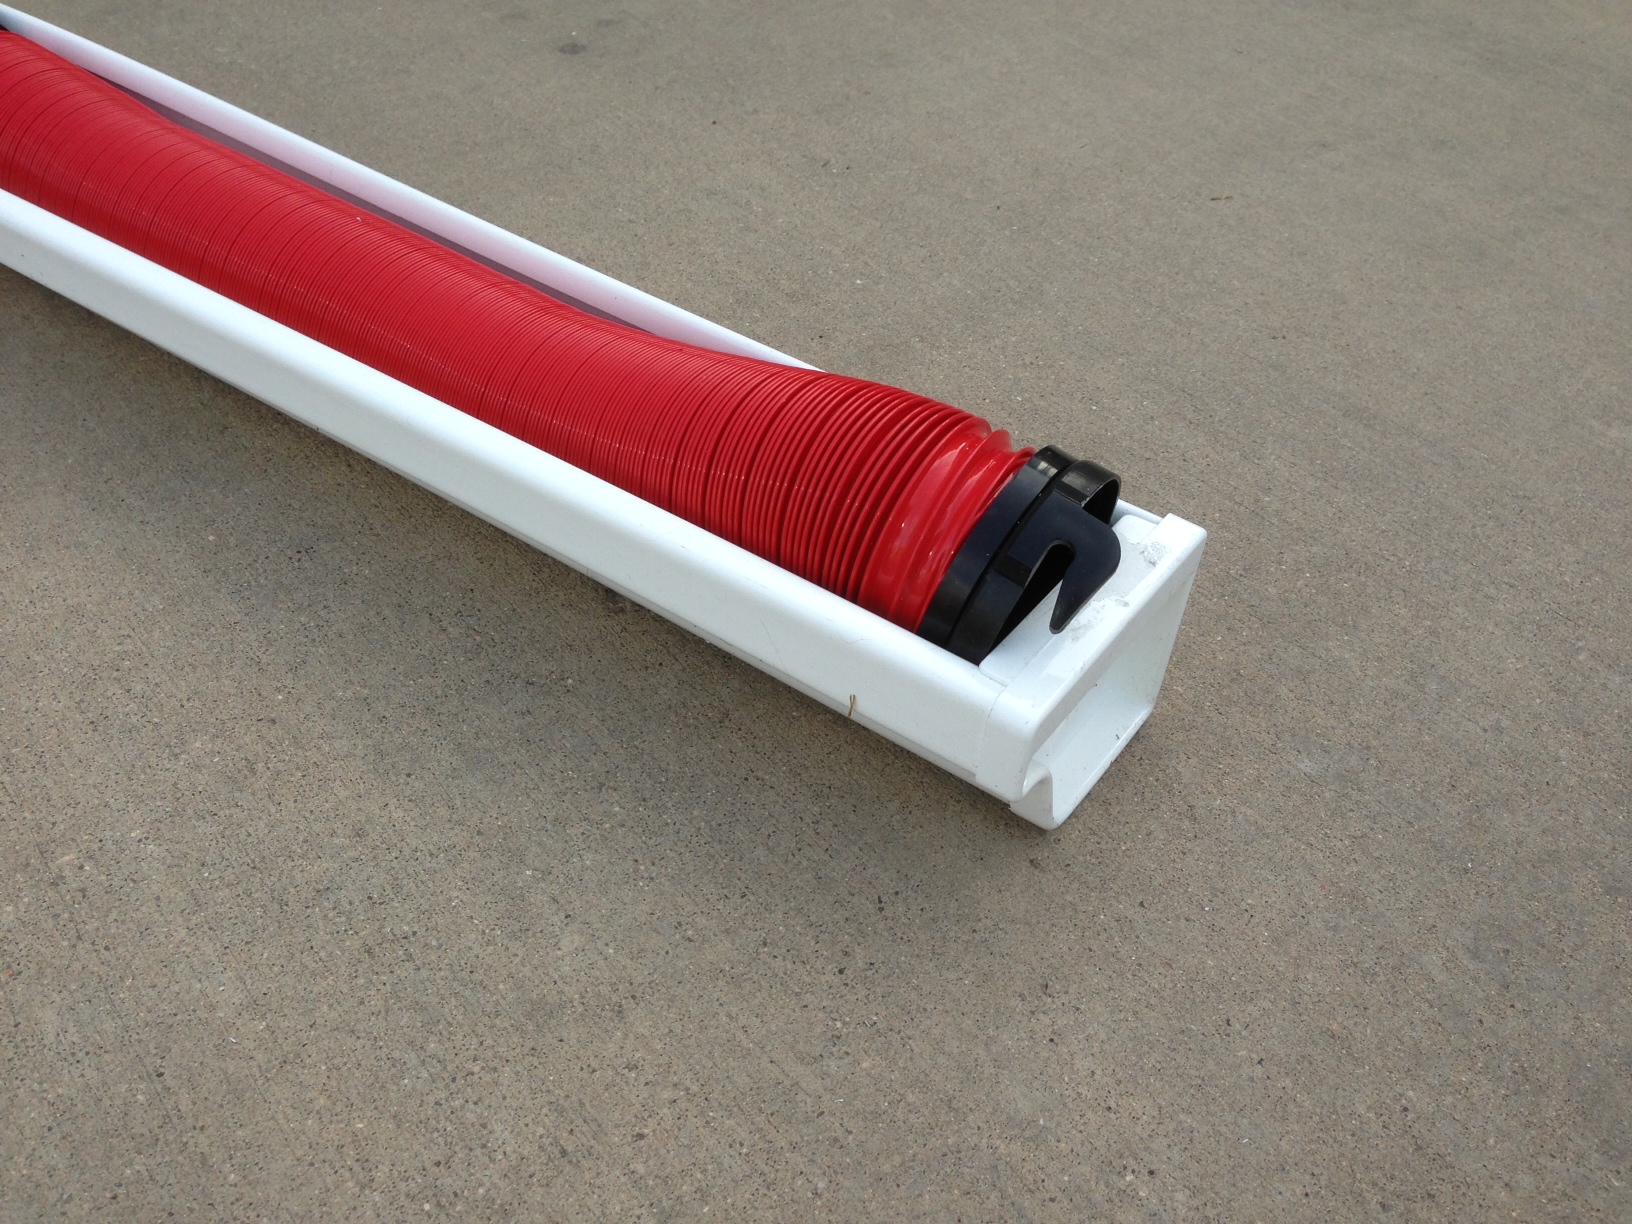
- One plastic gutter with end caps. Shape is important to get the most usable volume; the "extreme weather" version (at the bottom of this page) didn't work as well. Here's what I used:
- Raingo 4-1/2-in White Vinyl Gutter (Item # 12066). I used 56-1/2".
- Raingo 4-1/2-in White Vinyl Gutter End Cap (Item # 12068) for the outside end cap.
- Raingo 4-1/2-in White Vinyl Gutter End Cap (Item # 12067) for the inside end cap.
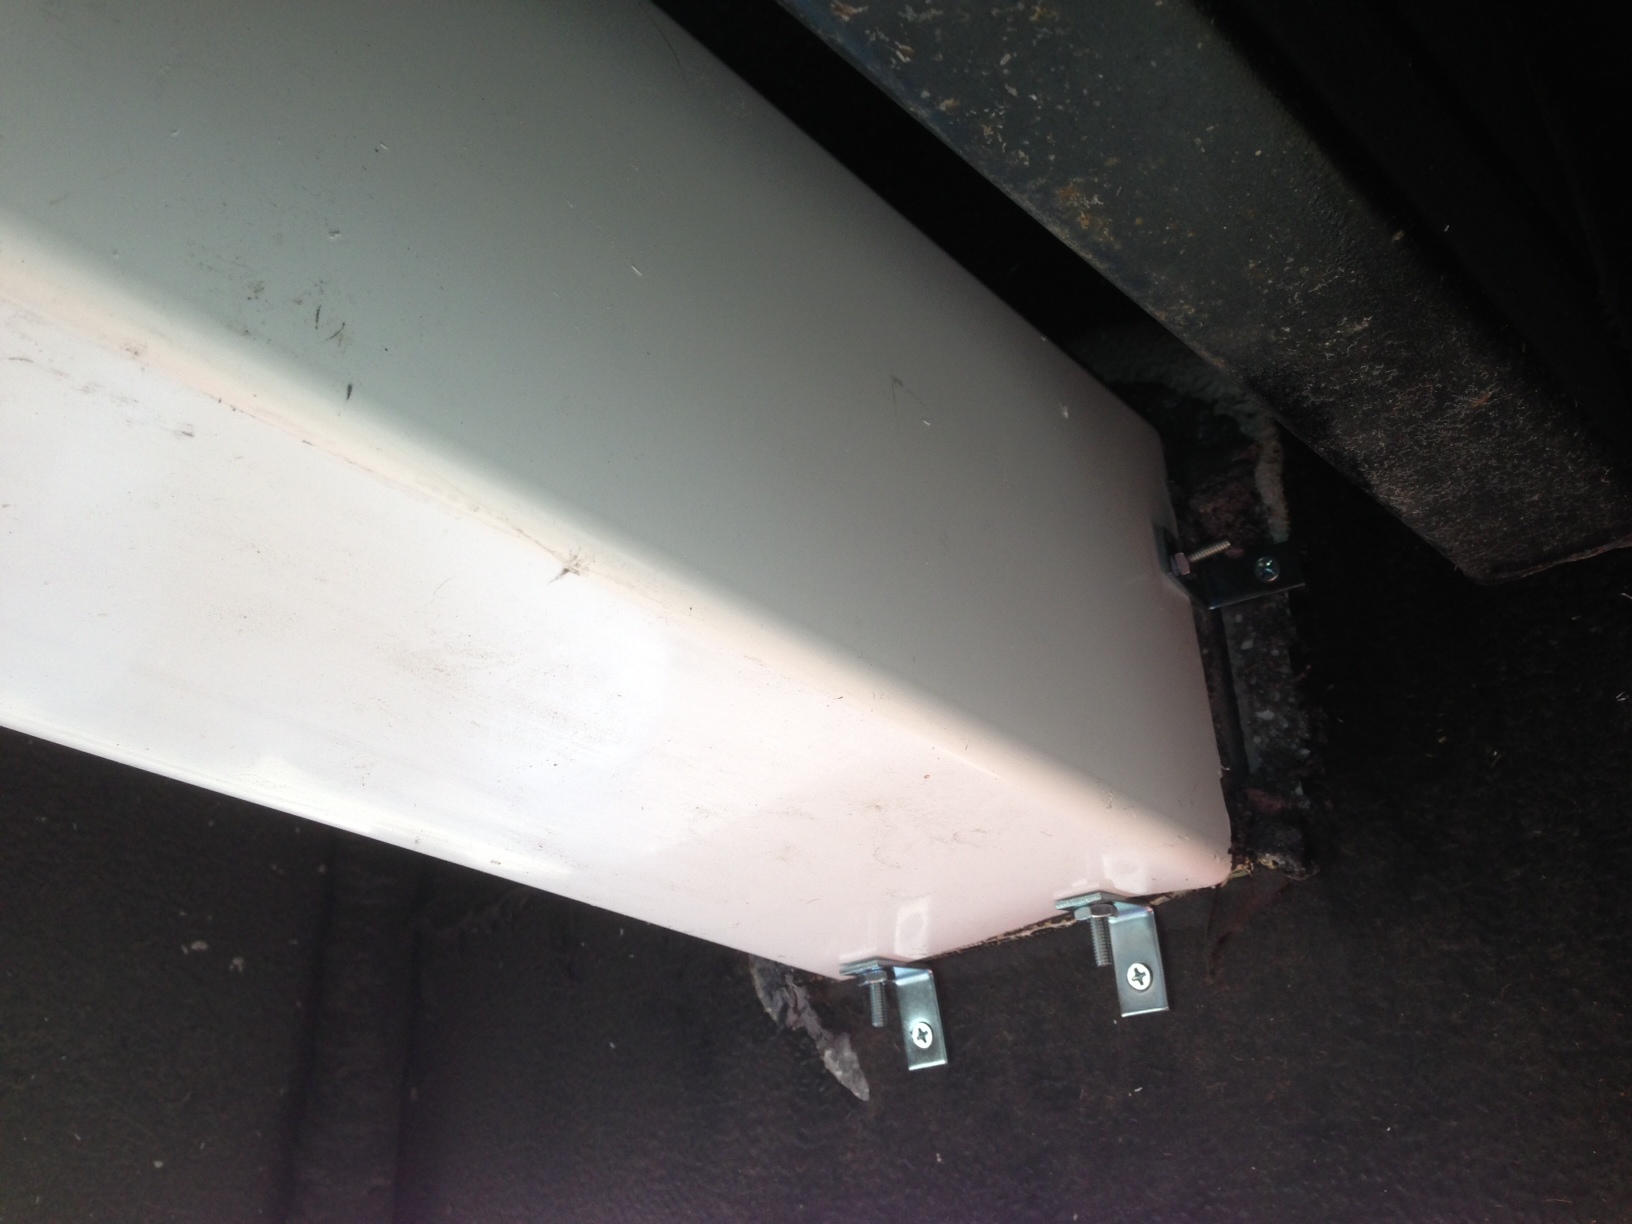
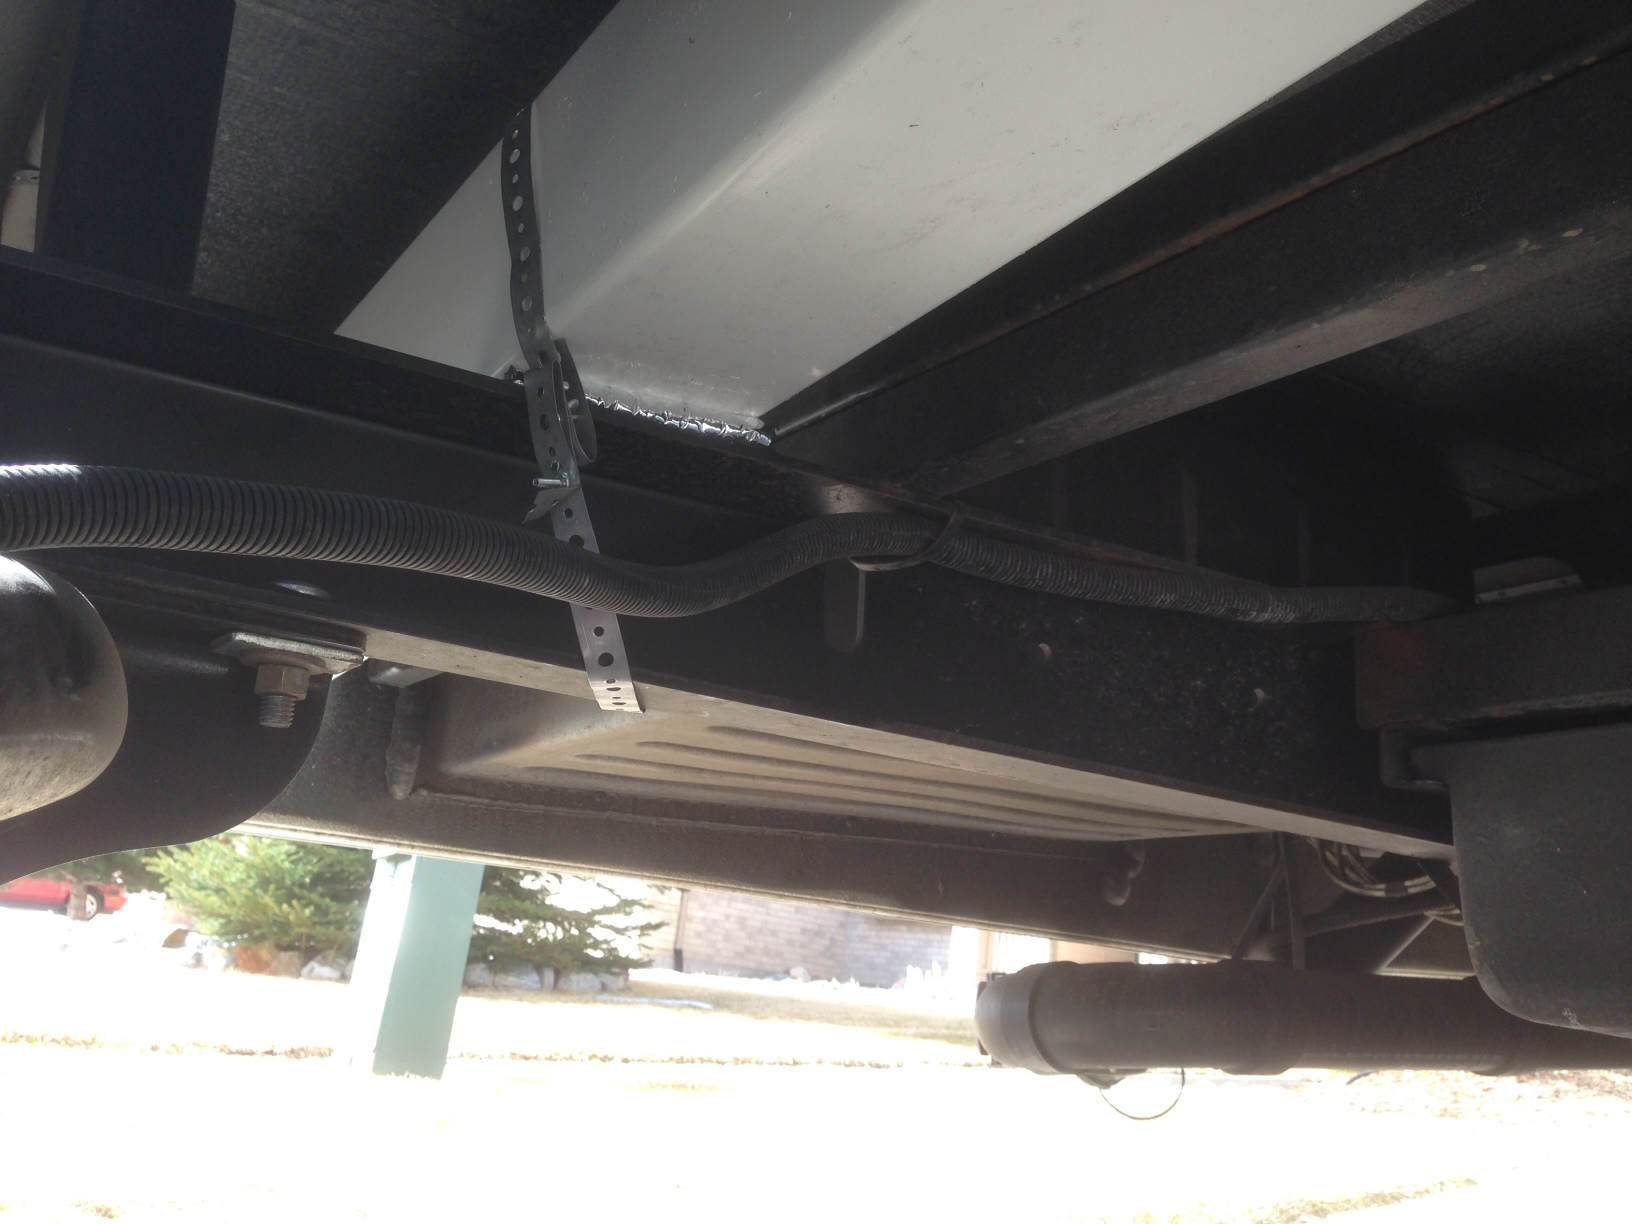
- 4-6 small L-brackets. I got four from Walmart with screws for $1.37.
- 4 bolts and nuts to connect the L-brackets to the fencepost.
- 4 screws to attach the L-brackets to the RV. You might need anchors, depending on your RV's siding.
- Adhesive for fencepost and gutter end caps. I used Blue RTV.
- 1-2 small screws to secure end cap.
- Can of sealant...expanding foam, Flex-Seal, etc.
Tools needed:
|
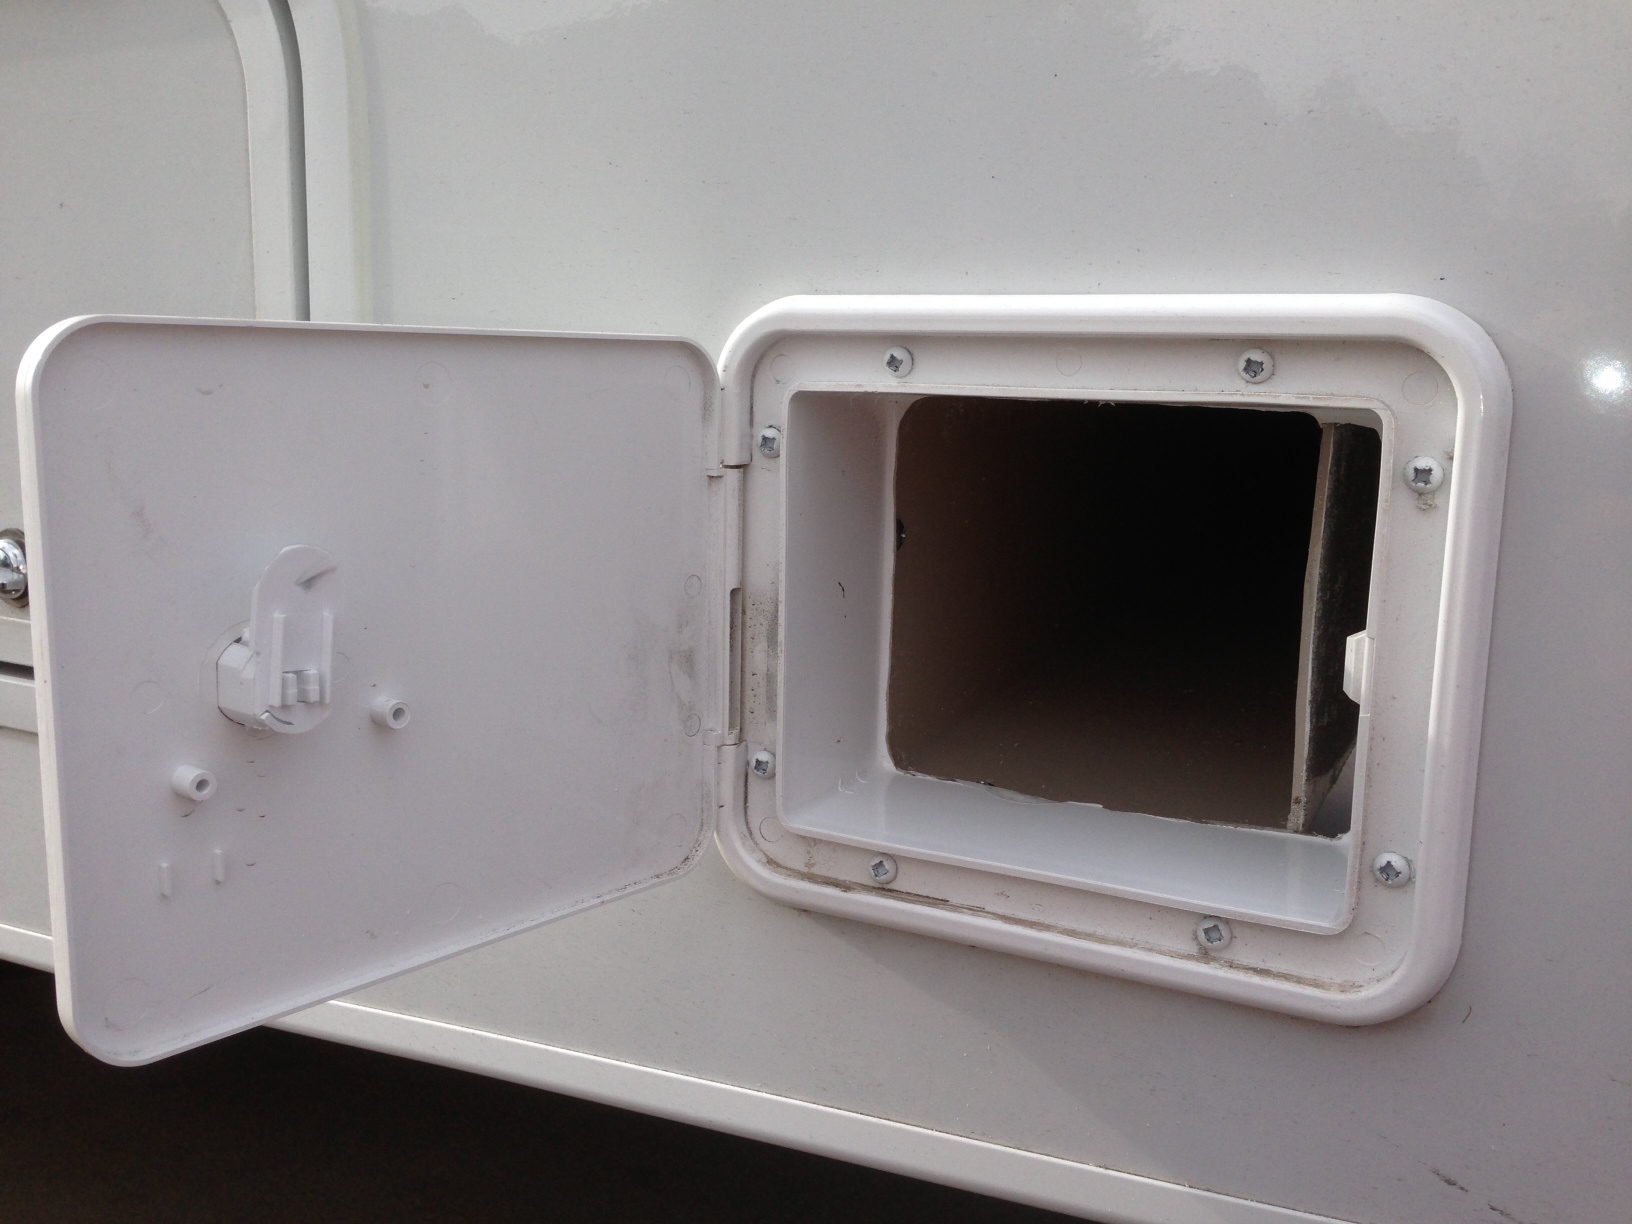
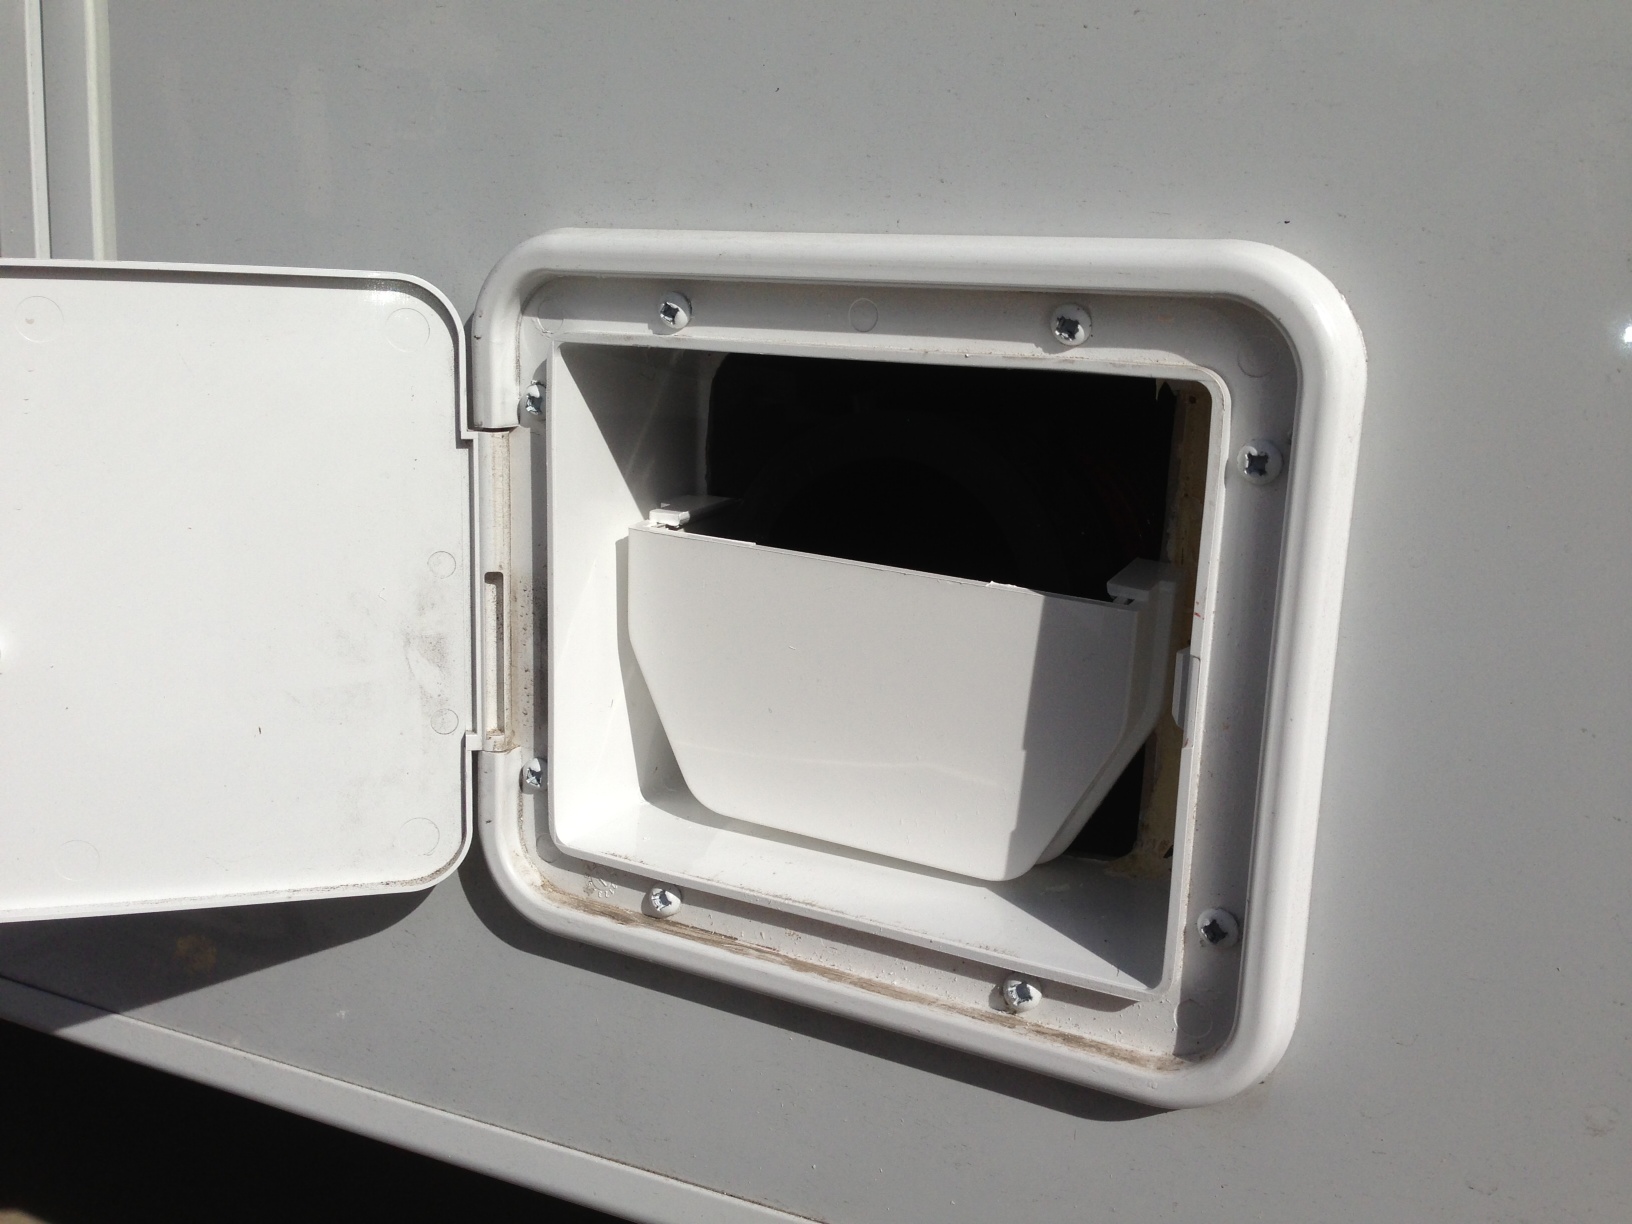
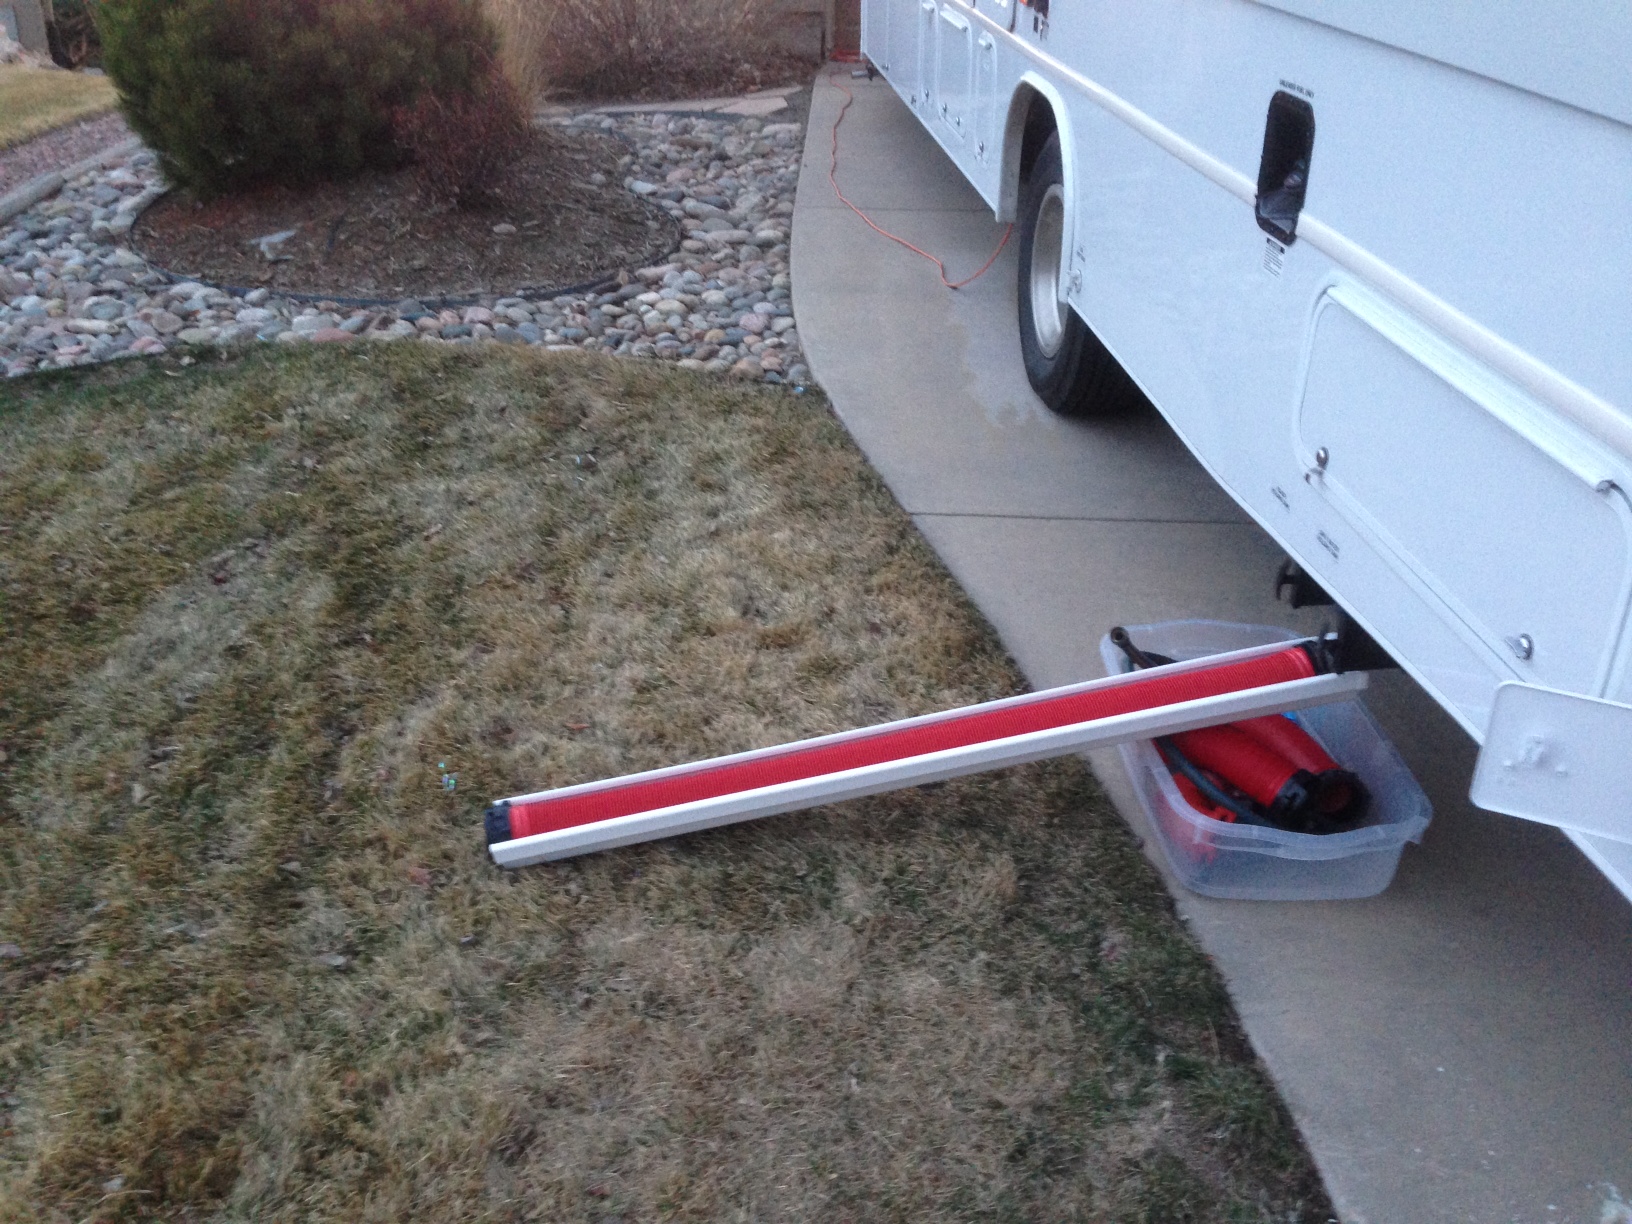
Discussion thread here: Built-in Sewer Hose Compartment - Mod with Pics
Email me with any tips and tricks you've found useful, tweaks to what I've done here, etc.!